
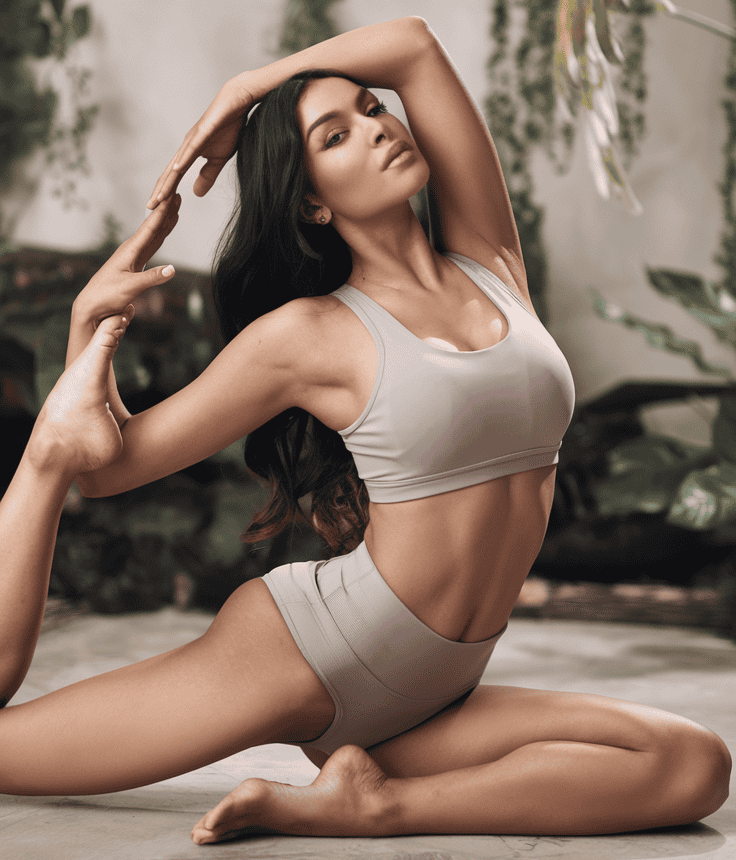
Osteoarthritis pain can sometimes feel overwhelming, but incorporating a gentle yoga practice into your routine might be the key to unlocking greater comfort and mobility.
This article explores nine specific yoga poses that help ease osteoarthritis symptoms while promoting flexibility and strength. These poses are designed to be accessible, safe, and effective.
Whether you’re new to yoga or have been practicing for years, you can find inspiration here to create a routine that supports your joint health and overall well-being.
1. Cat-Cow Pose (Marjaryasana-Bitilasana)
Description:
The Cat-Cow pose is a fluid movement between arching and rounding your back. It is especially helpful in improving spinal flexibility and warming up the body. This gentle sequence encourages a mindful connection between your breath and movement.
Benefits:
- Increases spinal mobility
- Reduces stiffness in the back
- Encourages gentle stretching of the back muscles
- Provides a mindful warm-up for your practice
How to Do It:
- Start on all fours with your wrists under your shoulders and knees under your hips.
- Inhale, drop your belly toward the mat and lift your head and tailbone to the sky (Cow).
- Exhale, round your spine, tuck your chin and draw your belly in (Cat).
- Repeat slowly for 8-10 rounds.

2. Chair Pose (Utkatasana)
Description:
Chair Pose is a dynamic standing posture that mimics the action of sitting down in an invisible chair. It helps build strength in the legs, hips, and lower back while challenging your balance and stability.
Benefits:
- Strengthens the thighs and glutes
- Enhances balance and stability
- Promotes endurance and stamina
- Engages the core to support the lower back
How to Do It:
- Stand with your feet together, then step your feet slightly apart for better balance if needed.
- Inhale, raise your arms overhead.
- Exhale and bend your knees as if sitting back in an invisible chair.
- Keep your weight on your heels, and ensure your knees don’t extend past your toes.
- Hold for 20-30 seconds, then stand back up.
3. Cobbler’s Pose (Baddha Konasana)
Description:
Also known as Bound Angle Pose, Cobbler’s Pose is a seated position that focuses on opening the hips and stretching the inner thighs. It is excellent for those with stiffness in the lower body due to osteoarthritis.
Benefits:
- Stretches the inner thighs and hips
- Improves flexibility in the groin area
- Calms the mind and relieves tension
- Supports overall lower-body mobility
How to Do It:
- Sit on the floor, bring the soles of your feet together, and let your knees fall open to the sides.
- Hold your feet with your hands and gently press your knees toward the floor.
- Sit tall and lean forward slightly to deepen the stretch if it feels comfortable.
- Hold for 30-60 seconds while breathing steadily.
4. Extended Side Angle Pose (Utthita Parsvakonasana)
Description:
This pose provides a deep lateral stretch, targeting the side body and legs. Extended Side Angle helps strengthen the legs and stretch the side muscles, which can be particularly beneficial if osteoarthritis affects your joint mobility.
Benefits:
- Strengthens the legs
- Stretches the side body and improves lateral flexibility
- Opens up the chest and lungs, promoting better breathing
- Enhances overall balance
How to Do It:
- Stand with your feet wide apart.
- Turn your right foot out and your left foot slightly inwards.
- Bend your right knee while keeping your left leg straight.
- Extend your right hand to the floor near your right foot and reach your left arm over your head, creating a long, diagonal line.
- Hold for 20-30 seconds, then switch sides.
5. Warrior I (Virabhadrasana I)
Description:
Warrior I is a powerful lunge that engages the entire lower body. This pose helps build strength and stability in the legs and hips, making it a great addition for anyone dealing with osteoarthritis pain.
Benefits:
- Builds lower body strength
- Improves hip stability and balance
- Opens the chest and shoulders
- Enhances endurance and focus
How to Do It:
- Begin by standing tall with your feet hip-width apart.
- Step your right foot forward into a lunge, keeping the left foot angled slightly outward.
- Raise both arms overhead, palms facing each other.
- Square your hips forward and ensure your front knee is directly over your ankle.
- Hold the pose for 20-30 seconds, then repeat on the other side.
6. Side Plank on Forearm (Vasisthasana)
Description:
Side Plank is a challenging yet accessible pose that strengthens the core, shoulders, and hips. When performed on the forearm, it becomes more accessible, especially for those with osteoarthritis, as it reduces strain while still providing an excellent workout.
Benefits:
- Strengthens the core and hip abductors
- Improves balance and coordination
- Provides a gentle challenge to the upper body
- Encourages body awareness and stability
How to Do It:
- Start in a regular plank position, then shift your weight onto your right forearm.
- Stack your feet and raise your left arm toward the ceiling.
- Engage your core and keep your body straight from head to toe.
- Hold for 15-20 seconds before switching sides.
- For an easier modification, drop your bottom knee to the floor.
| Variation | Description | Benefit |
|---|---|---|
| Standard Side Plank | Full plank on one forearm with stacked feet | Increases core and arm strength |
| Modified Side Plank | Bottom knee on the floor for extra support | Easier on the joints |
7. Low Cobra Pose (Bhujangasana)
Description:
Low Cobra Pose is a gentle backbend that focuses on lifting the chest and strengthening the back muscles without overexertion. It’s a fantastic way to relieve tension along the spine, especially for those who experience stiffness from osteoarthritis.
Benefits:
- Strengthens the back muscles
- Improves posture
- Opens the chest and shoulders
- Eases tension in the lower back
How to Do It:
- Lie face down on a yoga mat with your legs extended and the tops of your feet on the floor.
- Place your hands under your shoulders, keeping your elbows close to your body.
- Inhale and gently lift your chest off the ground using your back muscles.
- Keep your lower ribs on the floor to avoid straining your back.
- Hold for 15-20 seconds, then slowly lower back down.

8. Child’s Pose (Balasana)
Description:
The child’s Pose is a restorative pose that provides a much-needed break during practice. It gently stretches the hips, thighs, and ankles while promoting a sense of calm and relaxation.
Benefits:
- Relieves stress and calms the mind
- Gently stretch the lower back and hips
- Provides a safe, restful break between more challenging poses
- Helps reduce overall tension and discomfort
How to Do It:
- Kneel on the floor, sit back on your heels, and then lower your torso forward between your thighs.
- Extend your arms out before you, or let them rest alongside your body for extra relaxation.
- Breathe deeply, allowing your body to relax into the pose.
- Hold for 30-60 seconds or as long as you need a break.
9. Seated Spinal Twist (Ardha Matsyendrasana)
Description:
A seated Spinal Twist is a seated posture that helps increase spinal mobility while gently stretching the shoulders and hips. This twist not only aids in joint mobility but also stimulates digestion.
Benefits:
- Enhances spinal flexibility
- Relieves tension in the back and shoulders
- Improves digestion through gentle compression of the abdominal organs
- Promotes better circulation
How to Do It:
- Sit on the floor with your legs extended in front of you.
- Bend your right knee and place your right foot outside your left thigh.
- Inhale, and as you exhale, twist your torso to the right, placing your left elbow on the outside of your right knee for added leverage.
- Keep your back straight, and your shoulders relaxed.
- Hold for 20-30 seconds before switching sides.
Summary Table: Quick Reference for Each Pose
| Yoga Pose | Primary Benefit | Recommended Duration | Key Focus |
|---|---|---|---|
| Cat-Cow Pose | Spinal flexibility & warm-up | 8-10 rounds | Fluid movement, mindful breath |
| Chair Pose | Lower body strength & balance | 20-30 seconds | Leg strength, posture |
| Cobbler’s Pose | Hip and inner thigh stretch | 30-60 seconds | Flexibility, relaxation |
| Extended Side Angle Pose | Lateral stretch & leg strengthening | 20-30 seconds per side | Side body stretch, balance |
| Warrior I | Overall lower body strength | 20-30 seconds per side | Stability, endurance |
| Side Plank on Forearm | Core and hip stability | 15-20 seconds per side | Core strength, modification |
| Low Cobra Pose | Back strength & posture improvement | 15-20 seconds | Gentle backbend |
| Child’s Pose | Relaxation & gentle lower body stretch | 30-60 seconds | Restorative, stress relief |
| Seated Spinal Twist | Spinal mobility & digestion improvement | 20-30 seconds per side | Spinal twist, circulation |
Frequently Asked Questions (FAQs)
Q1: Is yoga safe for someone with osteoarthritis?
A1: Yes, when practiced mindfully and with proper modifications, yoga can be a safe and effective way to manage osteoarthritis pain. Always consult with your healthcare provider before starting a new exercise regimen.
Q2: How often should I practice these poses for best results?
A2: Aim for 3-4 times per week. Consistency is key, but listen to your body and modify the frequency as needed.
Q3: Can I modify these poses if they feel too challenging?
A3: Absolutely. For example, you can use props, reduce the range of motion, or try modified versions like lowering your knee in Side Plank. Modifications help ensure safety and comfort.
Q4: How long does it typically take to notice improvements in osteoarthritis pain?
A4: Improvements vary by individual, but many people report feeling more flexible and experiencing less pain within a few weeks of consistent practice.
Q5: Do I need to attend a class, or can I practice at home?
A5: Both options work well. If you’re new to yoga, consider taking a few classes for proper guidance. Once comfortable, you can build a personalized routine at home.
Final Thoughts
Integrating these nine yoga poses into your routine can help manage osteoarthritis pain naturally while enhancing flexibility and strength. Each pose has its unique benefits, and together, they offer a balanced approach to improving mobility and reducing discomfort.
Remember, the key is consistency and listening to your body. If any pose causes pain, modify it or consult a professional for advice.
By embracing these yoga practices, you nurture your physical health and create moments of mindfulness and self-care. Enjoy your journey to a more flexible, pain-free life!