
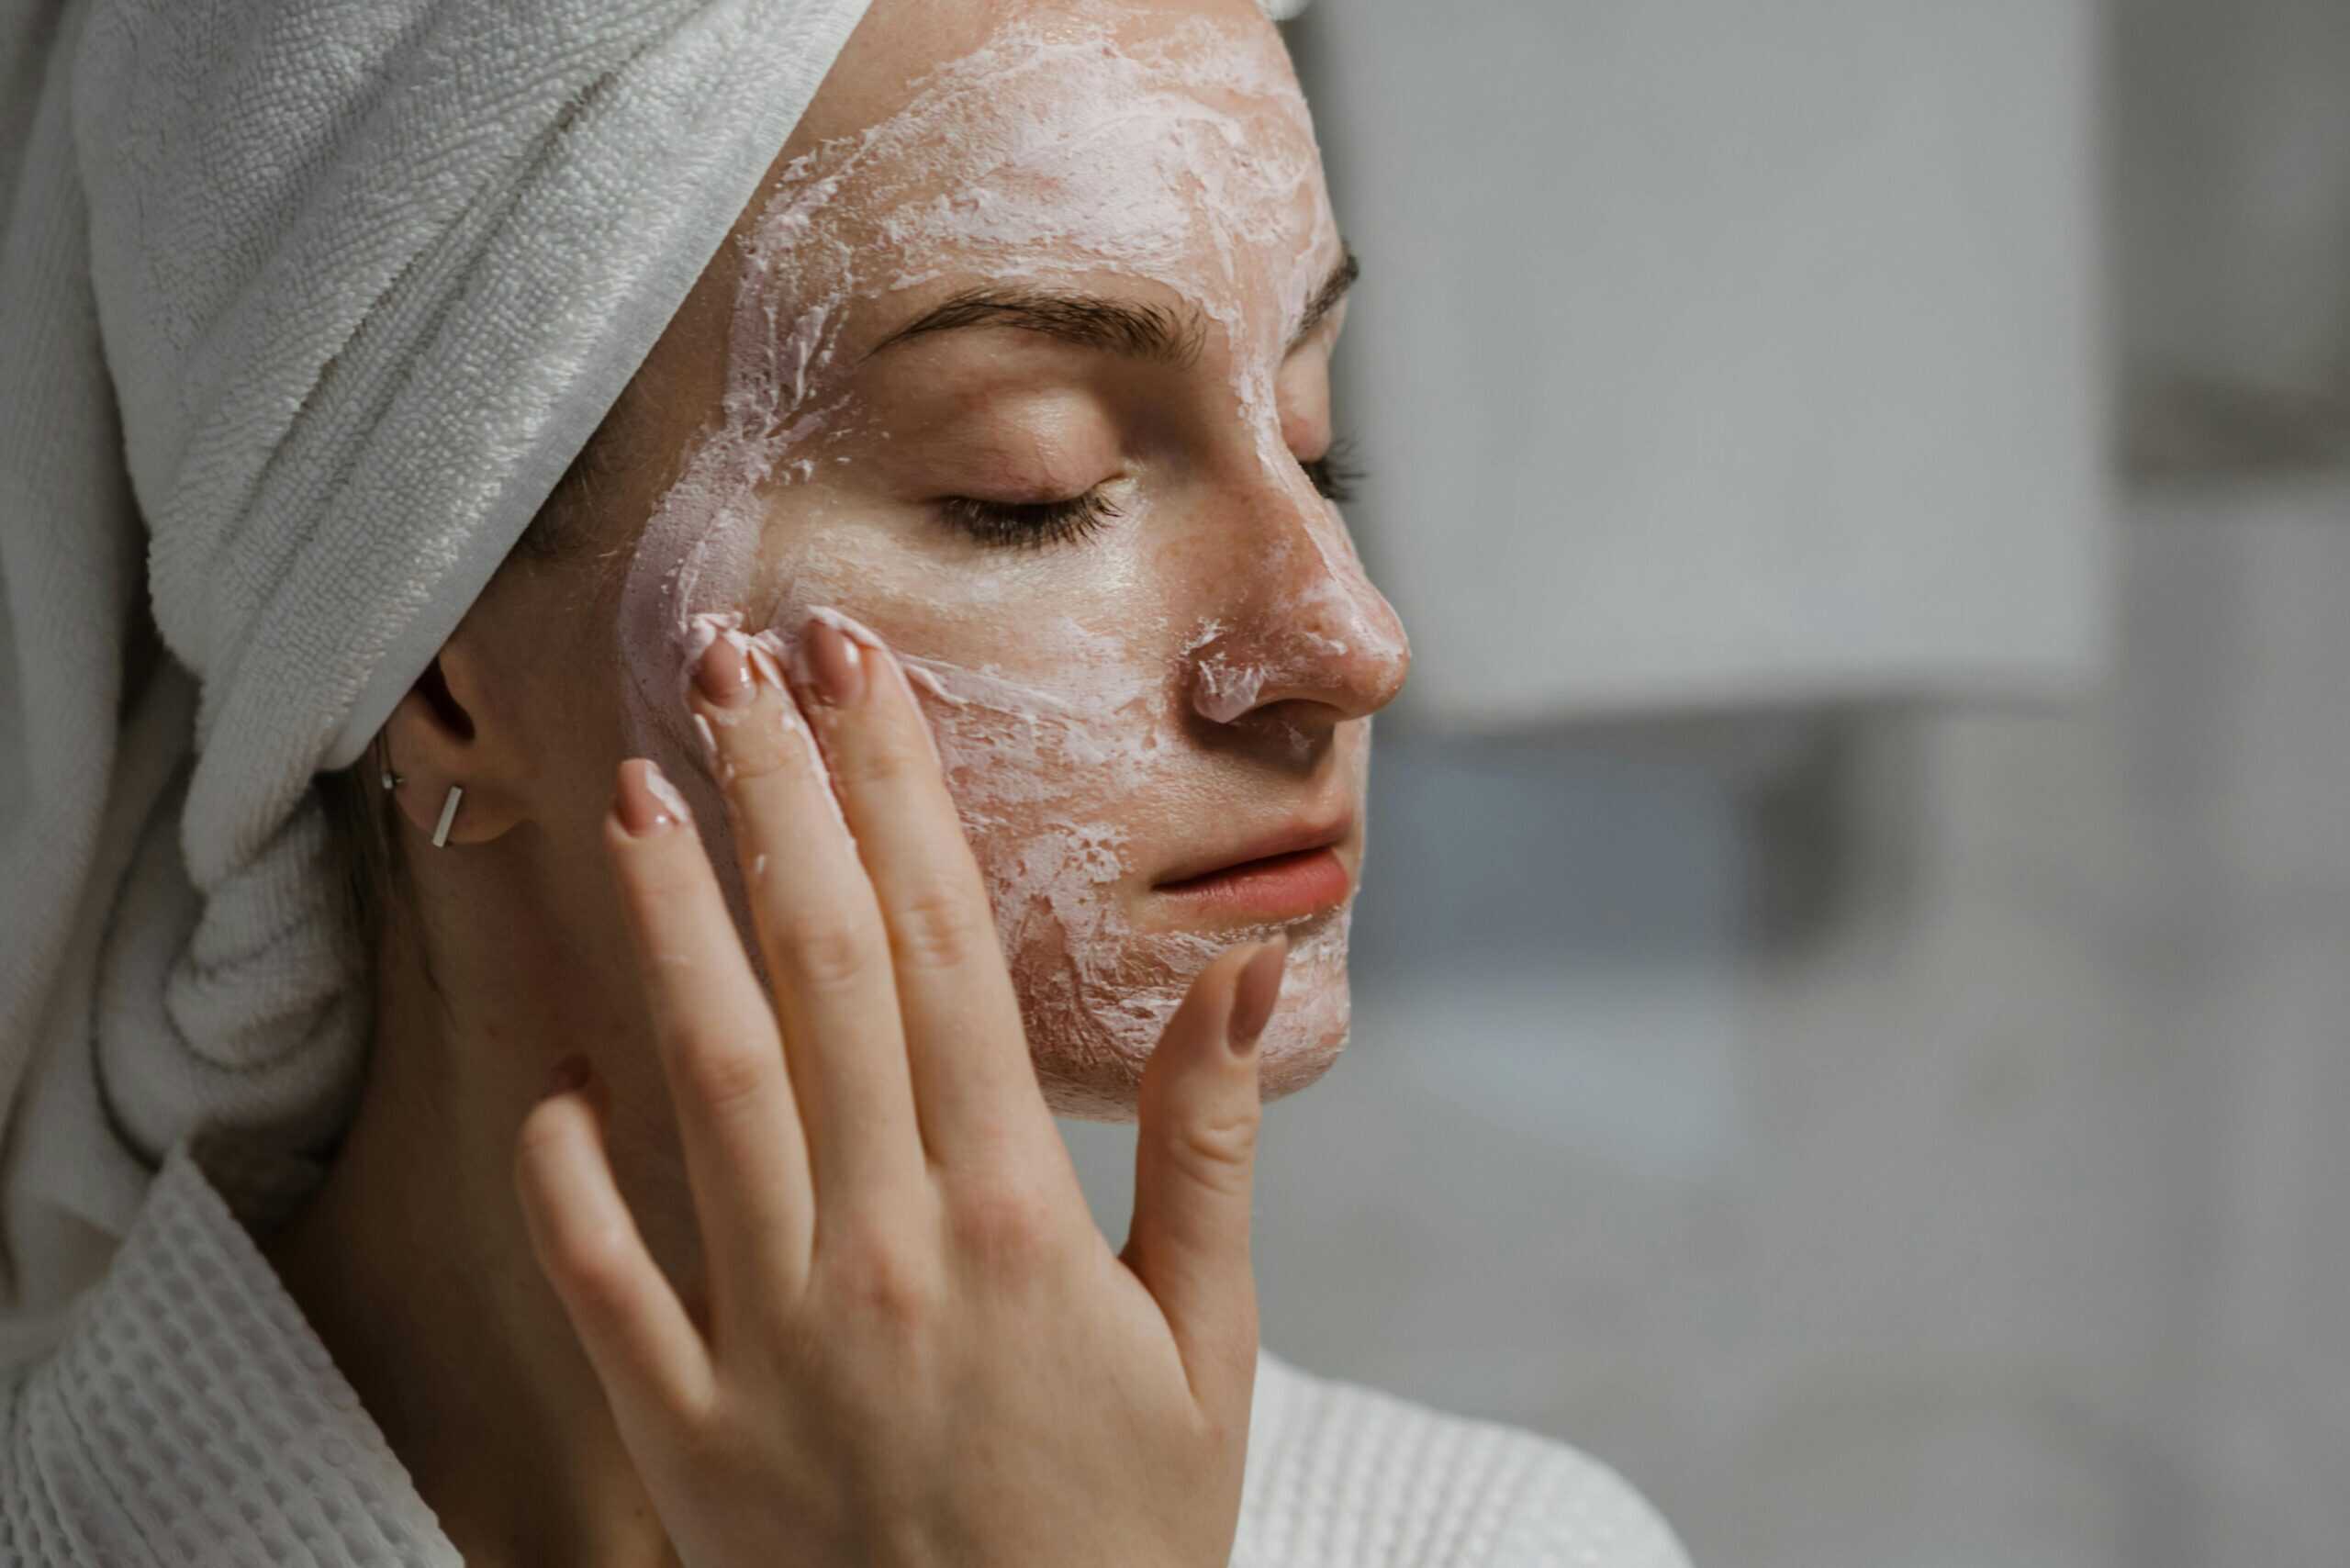
Ever stared at your bathroom counter full of fancy spa products and thought, “I can totally whip up something better at home”? DIY Exfoliating Sugar Scrub Bars to the rescue! I’m no witch doctor, but I’ve spent enough time in my kitchen experimenting with scents, textures, and a serious mess on the countertop (sorry, mom!).
In this article, I’ll walk you through everything you need to know to make sugar scrub bars that leave your skin feeling baby-soft—minus the spa price tag. Ready to get your hands sweet and scrubby? Let’s go! 🙂

Why I Love DIY Exfoliating Sugar Scrub Bars
No More Sticky Jars
Have you ever wrestled with a crumbly scrub in a jar, only to watch half of it stick to the sides? Ugh, waste city. Sugar scrub bars solve that by being solid, easy to grip, and zero jar-juggling.
Budget-Friendly Spa Vibes
Why pay $20 for a tiny pot of scrub when you can make a whole bar for less than $5? IMO, that’s a no-brainer. Plus, you control the ingredients—no weird chemicals hiding in the fine print.
Earth-Friendly Approach
Ever felt guilty tossing plastic jars into the recycling? Me too. These bars cut plastic waste, so you can scrub guilt-free. Earth says thanks, and your shower routine feels extra virtuous.
Key Ingredients and What They Do
Before you channel your inner chemist, let’s break down the must-haves and their roles:
Base Ingredients
- Granulated Sugar: Exfoliates gently, removing dead skin cells without tearing your skin.
- Cocoa Butter or Shea Butter: Moisturizes deeply, sealing in hydration.
- Coconut Oil: Softens and adds slip, so the bar glides over skin.
Binding Agents
- Beeswax or Candelilla Wax: Holds the bar together so it won’t melt before you use it.
Extras for Fun
- Essential Oils (lavender, peppermint): for a sensory boost and aromatherapy benefits.
- Vitamin E Oil: acts as an antioxidant, extending shelf life.
- Natural Colorants (spirulina, beetroot powder): keep things instagrammable.
FYI, you only need a teaspoon or two of colorant—overdo it, and you’ll stain the shower (rookie mistake!).
Step-by-Step: Making Your Sugar Scrub Bars
Ever wanted to feel like a mad scientist? This section’s for you.
- Gather Your Gear
- Double boiler or heat-safe bowl + pot
- Silicone mold (ice cube trays work!)
- Spoon or mini whisk
- Melt the Butters and Oils
- Fill the pot with an inch of water, bring to a gentle simmer.
- Place butter and wax in the bowl. Stir constantly until melted.
- Add Oils and Sugar
- Remove from heat; stir in coconut oil until smooth.
- Pour in granulated sugar and Vitamin E, stirring until thoroughly combined.
- Customize and Color
- Add 3–5 drops of essential oil.
- Sprinkle in natural colorant, mixing until you like the shade.
- Mold Time
- Quickly spoon the mixture into molds. Tap gently to remove air bubbles.
- Allow bars to cool and harden for at least 2 hours (overnight is safest).
- Unmold and Label
- Pop bars out, label with scent and date. Store in a cool, dry place.
Pro tip: Work fast—once the wax starts setting, it gets crumbly.

Customization Ideas for Different Skin Types
Dry Skin Solutions
- Extra Butter: Increase shea butter by 25% for more heft.
- Oatmeal: Add a tablespoon of finely ground oats for soothing properties.
Oily/Acne-Prone Skin
- Jojoba Oil: Use instead of coconut oil to avoid clogged pores.
- Charcoal Powder: A pinch of activated charcoal draws out impurities.
Sensitive Skin
- Unscented: Skip essential oils and stick to fragrance-free butters.
- Chamomile Tea: Brew a strong cup, use the cooled liquid to mix in place of some oil.
Ever wondered why customization matters? Because your skin is as unique as your Spotify playlist.
Storing Your Bars and Shelf Life
Nobody likes a melted scrub bar puddle.
- Cool, Dry Place: Keep bars in a drawer or on a shelf—avoid direct sunlight.
- Airtight Container: Store in a tin or glass jar to prevent dust buildup.
- Shelf Life: Expect around 6–8 months if you include Vitamin E; otherwise, closer to 4–5 months.
Rhetorical Q: Can you use old bars past their prime? Technically yes, but they lose potency and might smell funky. I wouldn’t risk it.

Benefits of Regular Exfoliating & Why Bars Rock
Smoother Skin, Faster
Scrubbing away dead cells speeds up skin renewal. You glow, you know it.
Better Product Absorption
Ever slather on lotion and feel it slide right off? Exfoliated skin soaks up moisturizers like a champ—hello, hydrated skin!
Circulation Boost
Massaging the scrub bar in circular motions gets the blood flowing. It’s like a mini facial workout—no gym membership required.
Common Mistakes and How to Avoid Them
- Overheating the Mixture: Heat kills beneficial properties. Keep flame low and stir gently.
- Using Too Much Sugar: You want grit, not glass shards. Stick to a 1:1 ratio of sugar to butter/oil.
- Skipping the Wax: No wax = melty, crumbly bars. Don’t be that person.
- Neglecting Labels: Forget the date, and you’ll find mystery scrubs months later. Label like a boss.
FAQs
Q: How often should I use my sugar scrub bar?
I recommend using it 2–3 times a week. Too often? You risk over-exfoliating. Not often enough? You miss out on that smooth-as-butter feel. Balance is key, right?
Q: Can I use the bar on my face?
Technically yes, but exercise caution. Facial skin runs thinner and more sensitive. If you really wanna try, make a special mini bar with superfine sugar and skip any harsh colorants or strong essential oils. Your face will thank you.
Q: What if my bars melt in summer?
Hot weather loves to sabotage your bars. Store them in a cool, dry place, like a drawer away from sunlight. You can even pop them in the fridge on super toasty days—no shame in that game.
Q: My bars turned crumbly. How do I fix that?
Crumbly bars mean you either skipped the wax or let the mixture cool too long before molding. Next time, add a bit more beeswax (just 10–15%) and work quickly to pour into molds. Problem solved.
Q: Are sugar scrub bars safe for sensitive skin?
Absolutely—if you keep it simple. Use only unscented butters and oils, and swap sugar for superfine oats if really sensitive. Always patch-test on a small area before full-body use. Better safe than sorry, right? 🙂
Q: How long do these bars last?
With Vitamin E, you get about 6–8 months of shelf life. Without it, expect closer to 4–5 months. If your bar smells weird or changes texture, toss it and make fresh—your skin deserves it.
Q: Can I experiment with other exfoliants?
Sure thing! Swap sugar for sea salt for a tougher scrub or add coffee grounds for a caffeine kick. Just keep the ratio to about 1:1 with your butters/oils to maintain bar integrity. Have fun, but don’t go overboard—no one wants a bar that feels like sandpaper. 😜
Conclusion
There you have it: DIY Exfoliating Sugar Scrub Bars that save you money, the planet, and give you skin so smooth you’ll want to show it off—maybe not at work, but definitely in the mirror. Give your routine a fun upgrade, and don’t forget to experiment (within reason, of course). Now go on, mix, mold, and scrub your way to glowing skin! Ready to get started? Grab your sugar and let’s make magic happen.
Call to Action: Share your favorite scent combo below or tag me in your Instagram stories—I can’t wait to see what you create!