
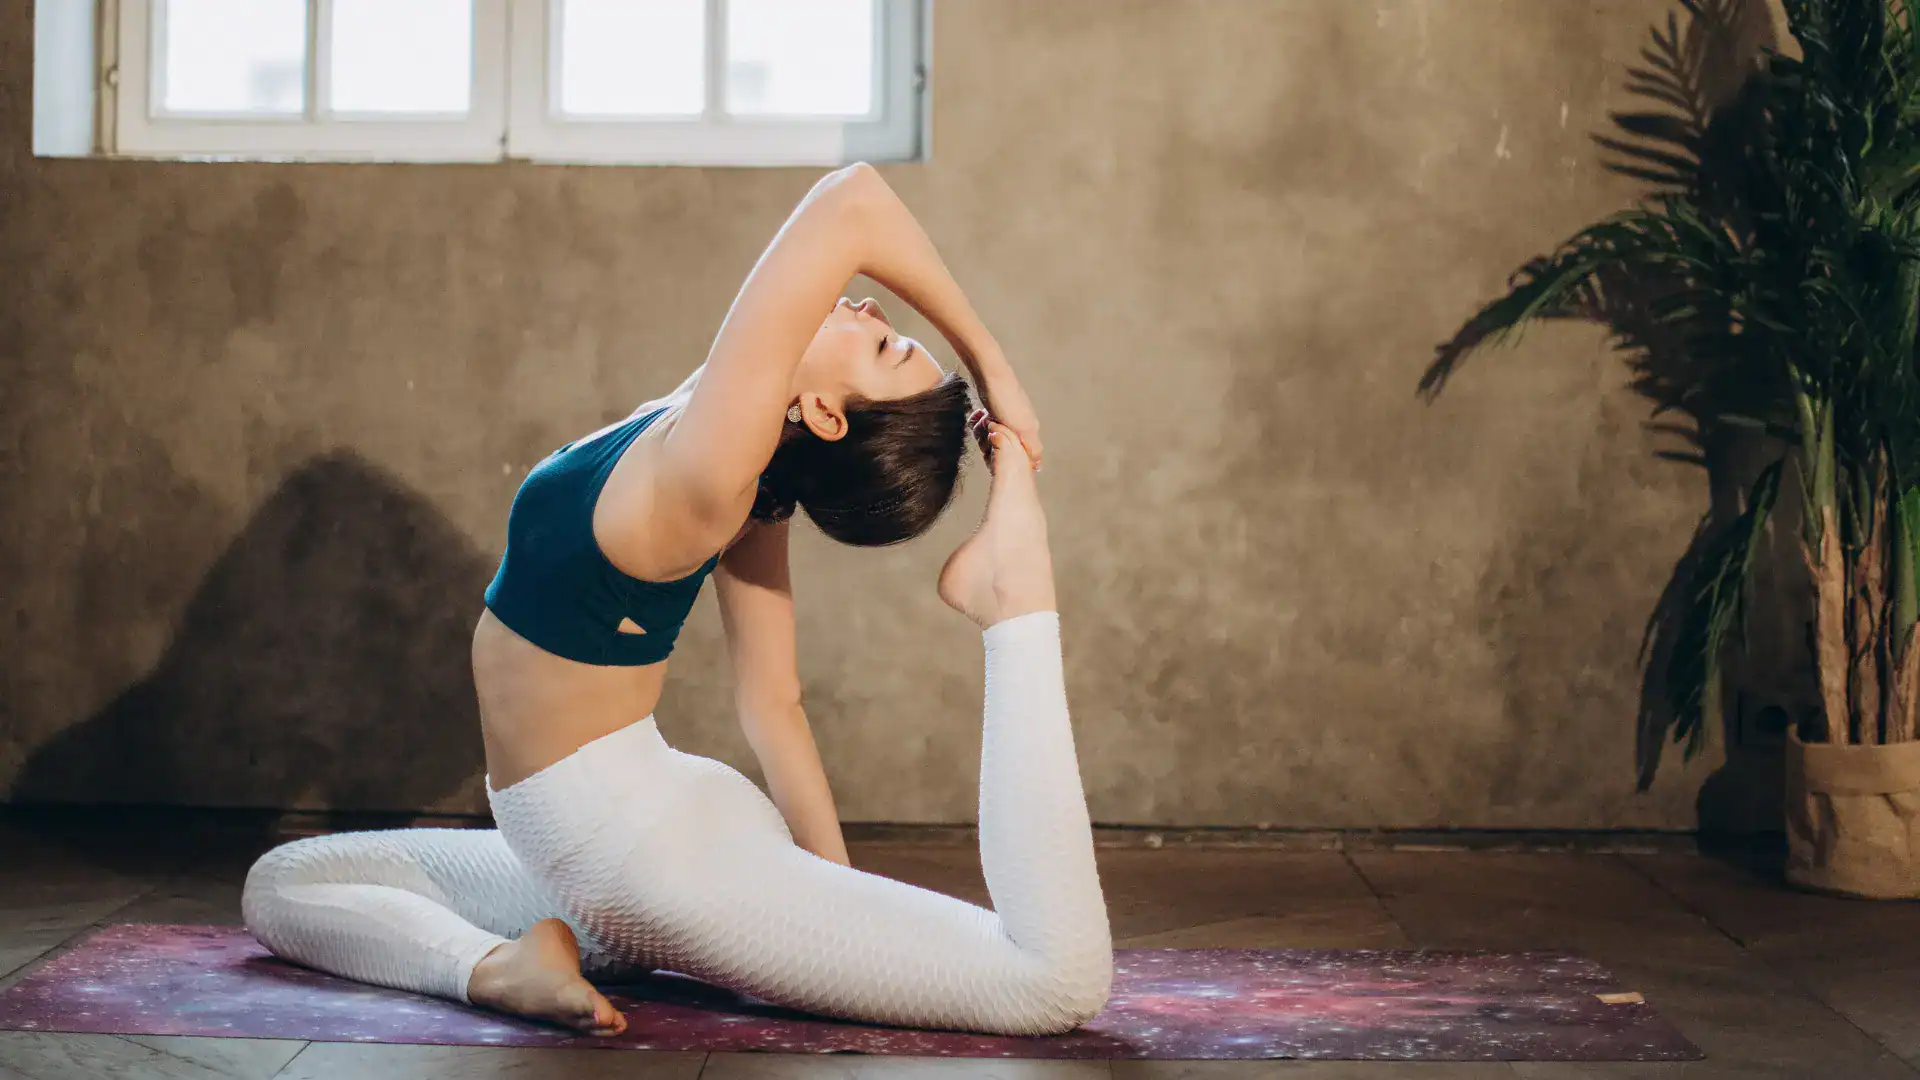
Sciatica pain can persist, affecting your daily activities and overall well-being. Incorporating gentle yoga into your routine can relieve, improve flexibility, and calm the mind.
This article explores 7 gentle yoga asanas that are especially beneficial for easing sciatica symptoms.
Each pose is explained in detail, with clear instructions, modifications for beginners, and practical tips to help you achieve the best results.
1. Knees-to-Chest Pose (Apanasana)
Description:
The Knees-to-Chest Pose, or Apanasana, is a simple yet effective stretch that helps relax the lower back and reduce tension around the sciatic nerve. By drawing your knees closer to your chest, you gently massage the lower spine and alleviate pressure on the affected areas.
Instructions:
- Step 1: Lie on your back on a comfortable, flat surface.
- Step 2: Slowly draw both knees toward your chest.
- Step 3: Wrap your arms around your shins or knees and gently pull them closer.
- Step 4: Hold the position for 20–30 seconds, breathing deeply.
- Step 5: Release slowly and repeat 2–3 times.
Tips & Modifications:
- For extra comfort: Place a folded towel under your head.
- If you experience discomfort: Keep one knee on the ground while drawing the other closer.
This pose is excellent for beginners and serves as a warm-up to loosen tight muscles.

2. Reclining Pigeon Pose (Supta Kapotasana)
Description:
The Reclining Pigeon Pose is a gentle alternative to the traditional pigeon pose, making it suitable for those with sciatica. It focuses on opening the hips and relieving pressure on the sciatic nerve by stretching the glutes and piriformis muscles.
Instructions:
- Step 1: Lie on your back with your knees bent.
- Step 2: Cross your right ankle over your left knee, forming a figure-four shape.
- Step 3: Gently press your right knee away from your body.
- Step 4: To deepen the stretch, reach your right hand through the gap and clasp your left hand behind your left thigh.
- Step 5: Hold for 20–30 seconds, then switch legs.
Tips & Modifications:
- For extra support: Place a yoga block or cushion under your bent leg.
- Avoid any strain: If your knee feels uncomfortable, reduce the range of motion until you build strength.
Reclining Pigeon Pose helps alleviate hip tension and can be a soothing end to a practice.
3. Cat-Cow Pose (Marjaryasana-Bitilasana)
Description:
This dynamic, flowing sequence between the Cat and Cow poses increases spinal flexibility and relieves back pain. Coordinating your breath with movement, you create a gentle massage along the spine, easing stiffness and promoting circulation.
Instructions:
- Step 1: Start on your hands and knees in a tabletop position.
- Step 2: For the Cow Pose, inhale and arch your back, letting your belly drop toward the floor while lifting your head and tailbone.
- Step 3: Transition into the Cat Pose by exhaling, rounding your spine, and tucking your chin toward your chest.
- Step 4: Repeat the sequence for 1–2 minutes, matching each movement with your breath.
Tips & Modifications:
- Keep it smooth: Avoid jerky movements; move slowly and mindfully.
- For a deeper stretch: Extend each phase slightly as you become more comfortable.
This flowing movement benefits your spine and helps calm the mind and relieve stress.
4. Child’s Pose (Balasana)
Description:
Child’s Pose is a deeply restorative position that gently stretches the back and hips. It allows you to release tension and offers both physical and mental relaxation. This pose is particularly useful for days when pain is more pronounced.
Instructions:
- Step 1: Begin on your hands and knees, then sit back on your heels.
- Step 2: Extend your arms forward, lowering your forehead to the mat.
- Step 3: Allow your chest to sink toward the floor and breathe deeply.
- Step 4: Stay in the pose for 30 seconds to 1 minute or longer if it feels comfortable.
Tips & Modifications:
- For extra cushioning: Place a blanket or cushion under your hips.
- If your knees hurt: Spread your knees slightly wider to reduce pressure.
Child’s Pose is a safe retreat for your body and mind, making it an ideal counterbalance to more active asanas.
5. Cobra Pose (Bhujangasana)
Description:
The Cobra Pose is a gentle backbend that strengthens the spine while opening the chest and stretching the abdominal muscles. It can help reduce lower back stiffness, which is often linked with sciatica.
Instructions:
- Step 1: Lie face down on a yoga mat with your legs extended and tops of your feet on the floor.
- Step 2: Place your hands under your shoulders with elbows close to your body.
- Step 3: Slowly press into your hands to lift your chest off the ground.
- Step 4: Keep your elbows slightly bent and shoulders relaxed.
- Step 5: Hold for 15–30 seconds before slowly lowering back down.
Tips & Modifications:
- For a milder version: Keep your chest lower and avoid fully lifting the upper body.
- Ensure alignment: Don’t overextend; let your back muscles do the work.
Practicing Cobra Pose regularly can improve posture and reduce lower back discomfort.
6. Seated Forward Bend (Paschimottanasana)
Description:
The Seated Forward Bend stretches the entire back body, including the hamstrings and lower back, which can help alleviate sciatic pain. This pose is excellent for releasing tension and improving flexibility.
Instructions:
- Step 1: Sit on the floor with your legs extended straight in front of you.
- Step 2: Inhale and lengthen your spine, reaching your arms upward.
- Step 3: Exhale and hinge at your hips to lean forward, reaching toward your toes.
- Step 4: Hold your feet or shins; otherwise, use a yoga strap around your feet.
- Step 5: Hold the stretch for 30 seconds to 1 minute, focusing on deep, relaxed breathing.
Tips & Modifications:
- For less flexibility: Bend your knees slightly to reduce strain on the back.
- Focus on the stretch: Keep your spine long rather than round it to avoid injury.
This pose is a calming and introspective stretch that can soothe body and mind.
7. Bridge Pose (Setu Bandhasana)
Description:
Bridge Pose strengthens the back, glutes, and legs while opening the chest and hip flexors. It is particularly beneficial for supporting the lower back and alleviating pressure contributing to sciatic pain.
Instructions:
- Step 1: Lie on your back with your knees bent and feet flat on the floor, hip-width apart.
- Step 2: Place your arms alongside your body with palms facing down.
- Step 3: Press your feet onto the floor as you slowly lift your hips upward.
- Step 4: Clasp your hands under your back to interlock your fingers and support the lift.
- Step 5: Hold for 20–30 seconds before slowly lowering your hips back to the ground.
Tips & Modifications:
- For extra comfort: Use a yoga block under your sacrum for a supported variation.
- Avoid overextending: Keep your neck relaxed and focus on engaging your glutes and core.
Bridge Pose not only relieves pain but also builds strength to help prevent future discomfort.
Quick Reference Table
To help you quickly identify which asanas might be most beneficial for your specific needs, refer to this table summarizing each pose:
| Asana | Target Areas | Key Benefits |
|---|---|---|
| Knees-to-Chest (Apanasana) | Lower back, core | Relaxes lower back, reduces tension |
| Reclining Pigeon (Supta Kapotasana) | Hips, glutes, piriformis | Opens hips, eases sciatic nerve pressure |
| Cat-Cow (Marjaryasana-Bitilasana) | Spine, abdominal muscles | Enhances flexibility, relieves stiffness |
| Child’s Pose (Balasana) | Back, hips, shoulders | Restorative calms the mind |
| Cobra Pose (Bhujangasana) | Spine, chest, abdomen | Strengthens back, alleviates stiffness |
| Seated Forward Bend (Paschimottanasana) | Hamstrings, lower back | Stretches back body, releases tension |
| Bridge Pose (Setu Bandhasana) | Glutes, lower back, hips | Strengthens core, supports lower back |
This table is a handy guide as you experiment with these poses, allowing you to tailor your practice to target your most problematic areas.
Frequently Asked Questions (FAQs)
Q1: How often should I practice these asanas?
Aim for 3–5 times per week. Consistency is key, but always listen to your body and avoid overdoing it.
Q2: Can beginners perform these poses safely?
Yes, these poses are beginner-friendly. Always start slowly, modify as needed, and consider guidance from a yoga instructor if you’re new to the practice.
Q3: How long should I hold each pose?
Hold each pose for 20–30 seconds, gradually increasing the duration as your flexibility and comfort improve.
Q4: What should I do if I feel pain during any pose?
If you experience sharp or intense pain, stop immediately. Modify the pose or consult a healthcare professional for personalized advice.
Q5: Can yoga completely cure sciatica?
Yoga can significantly reduce symptoms and improve mobility, but it is not a cure-all. It is best used as a complementary practice alongside medical treatment or physical therapy when needed.
Conclusion
Incorporating these 7 gentle yoga asanas into your routine can be a powerful tool for easing sciatica symptoms. Each asana offers unique benefits, from relieving tension in the lower back with the knee-to-chest pose to strengthening supportive muscles with the Bridge Pose.
Remember to practice mindfully, listen to your body, and adjust the poses according to your comfort level. With regular practice, you may experience reduced pain, improved flexibility, and a renewed sense of well-being.
By integrating these poses into your daily life, you’re taking proactive steps to manage your sciatica symptoms naturally. Enjoy your practice, and be patient as you work towards lasting relief and improved mobility.
