Palette knives are seen as a sign of confidence in a painter; you can wield them with gusto, paint impasto, and when no-ones looking, you feel like Van Gogh or maybe Bob Ross!
They can have a reputation of being good for certain ‘effects’ or ‘tricks’, for example, painting a snow-capped mountain (and it’s true – they are!).
But often, they are left in your paint box, and you’re not sure where else they fit into your paint practice.
The humble palette knife is used to mix nearly all the paint for my paintings, from getting paints out of tubs, mixing tints and shades on the palette, to scraping off any mistakes.
I often favour a medium size, diamond-shaped blade with a cranked handle – RGM 45 is my favourite tipple (sometimes referred to as a painting knife due to the angle of the cranked handle – see picture below)
It’s a good size for most mixes, and I also paint with it, helping to keep my tools down to a minimum.
I’m overly attached to mine, but what can a good painting knife do for you?…
Overcoming the fear of ‘wasted’ paint

When you’re first starting with acrylics, it can be hard to judge just how much paint you should or could use. Once you’ve invested in some artist quality paints, a natural reaction is not to put too much out on the palette and waste them; however, I’ve seen some pretty impressively full paint boxes that produce thin, translucent, almost careful paintings. That lack energy, expression and …paint!
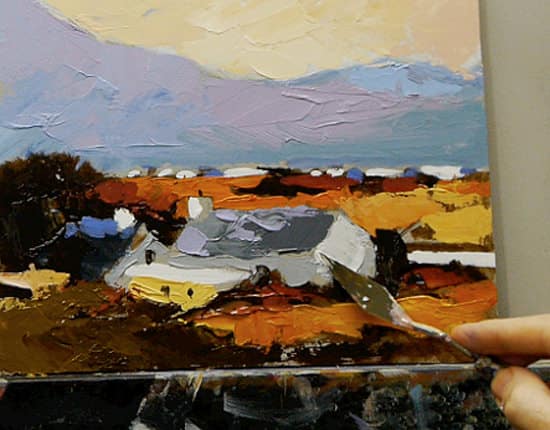
Using a palette knife instead of a brush to actually apply paint to the canvas introduces you to texture and thickness of paint and puts you out of your paint squeezing comfort zone.
With all this in mind, I wanted to put together a 4 part free video tutorial that would teach you new skills, combine using a palette knife with your brushes, and decide when to swap between them.
You’ll create a lovely textured, painterly study that will unlock the joy of painting (and now you really will feel like Bob Ross!)
Part 1 of 4
Downloading the reference photograph
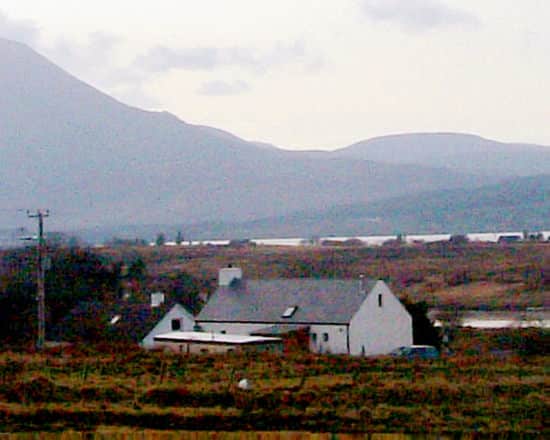
The photo below can be ‘right clicked’ and ‘Save image as’, so you can use it as a reference image, print it out and follow along with the video below.

Materials you will need:
Palette Knife
- Medium size, Diamond-shaped, cranked (angled) handle. I demonstrate with an RGM 45
Brush
- Size 4 black hog brush filbert (from Jackson’s Art)
Support
- 8 x 10 MDF Board primed with 2 coats of acrylic gesso & 1 coat of coloured ground of Raw Umber & Titanium white
- Kitchen roll
- Clean water
- Tear-off palette or stay-wet palette
Paints – The colour palette
Artist quality acrylic colours ( I’ve used a mix of Golden Heavy Body colours & Winsor & Newton Artist Acrylic)
- Titanium White
- Cadmium Yellow Light
- Alizarin Crimson Permanent (W&N)
- Ultramarine Blue
- Burnt Umber
How to paint with a palette knife – Free acrylic video Course |Part 1
The video below shows the first steps I take to start the painting process of this palette knife landscape study.
Make sure to subscribe (it’s free) to keep updated; you’ll get email updates when the next video is posted.
Next week, for Part 2, we’ll start to add the blues to balance the browns and do some freestyle colour mixing.
If you want to brush up on your colour theory, you should look at my Simple Colour Mixing Course.
You might also like:
1. Acrylic Palette Knife Painting Techniques – Free Video Course |Part 2
2. Acrylic Palette Knife Painting Techniques – Free Video Course |Part 3
3. Acrylic Palette Knife Painting Techniques – Free Video Course |Part 4
