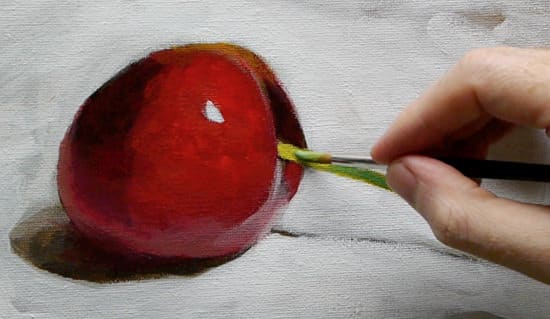
Part 3 & 4 of this 4 part series for beginners to acrylic painting
The first thing I do is to add some thicker paint to the main area of the cherry. This helps to reinforce the colour and is the time you can start to use thicker paint on top of the thinner underpainting we’ve already established.
I then glaze over parts of the cherry with the Alizarin Crimson & Burnt Umber mix. As both of these paints have a transparent nature – they are perfect for adjusting hues using thin layers of acrylics.
I then begin painting in the reflective light. This is the light that has bounced off the white of the table and is adding a subtle glow to the bottom edge of the cherry…
I add white to the Alizarin Crimson, this always brings out the purples/ blues so is perfect as a cool/warm contrast to the warmer main body of the cherry. I paint a thicker layer of paint using a filbert brush and then use a blush of the previous darker red to blend the acrylics using acrylic glazing liquid (gloss).
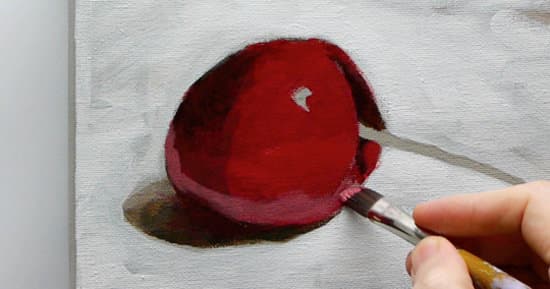
I then add a bit more warmth to the cherry by adding a touch of the pure cadmium red light. It is still quite a thin layer, though. I then tweak the drawing.

With the finer sable brush (you don’t have to use a sable any small round would be fine) I can then lighten the purple as we get closer to the light source.
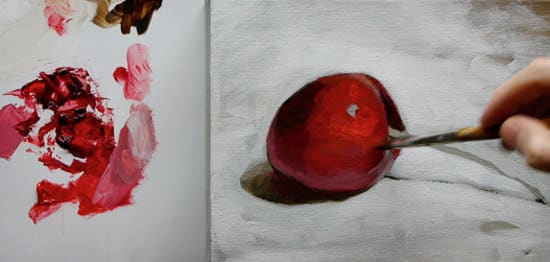
I then introduce some Cadmium Red Medium and mix this with the burnt umber to add a warmer top edge to the cherry.
The final part of this 4 part series – Beginners Acrylic Still life Course
This is the final stage of the painting. I now add some pure titanium white for the highlight, just one quick mark. Be careful not to try and get too fussy with your highlights when you are first painting; one quick mark will look more effective.
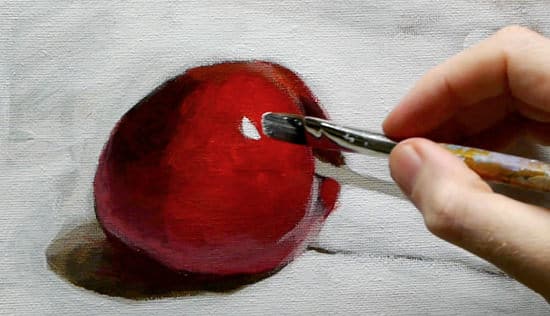
So I now establish a general colour for the stalk using pure Cadmium Yellow Light. Then I can work darker mixes of green on top, using the Green Gold. As it is a translucent paint, the yellow of the stalk can still glow through.
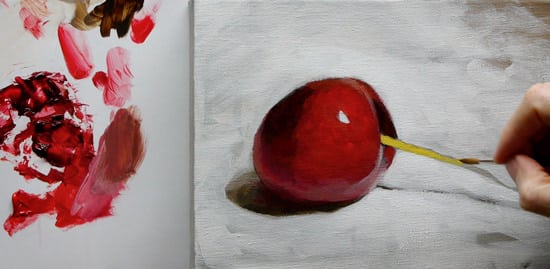
I can then use a muted green mixed with Burnt umber and yellow to add a depth to the tip of the stalk. I then mix an orange with the Cadmium red light and cadmium yellow light and add a subtle glaze to the cherry’s top.
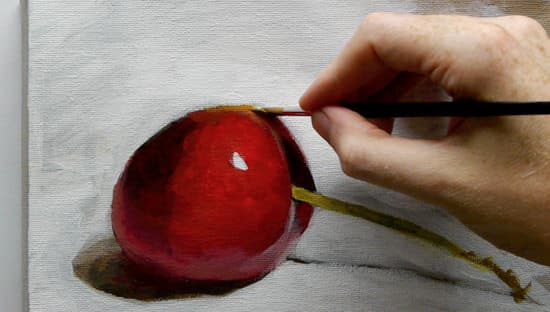
To add more detail to the stalk, I mix a darker green using Phthalo Blue (Red Shade) and the yellow.
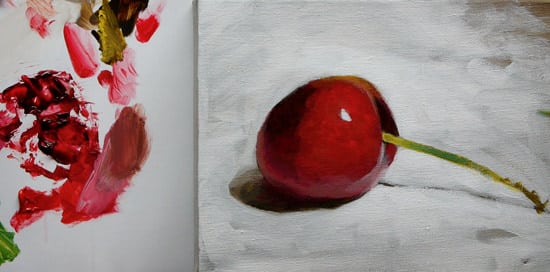
I then mix a thin glaze using the same green to add a green hue to the shadow of the cherry, by doing this it acts as it’s complementary colour to make the red of the cherry, look redder.
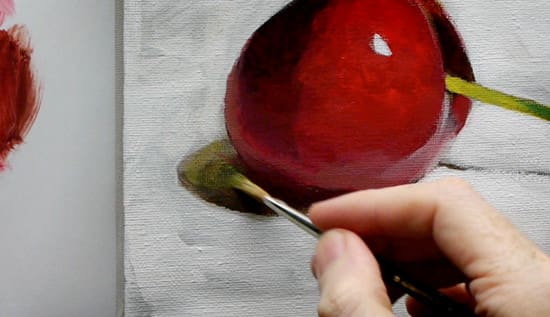
So finally, I look over the whole picture and check the drawing and make any adjustments.
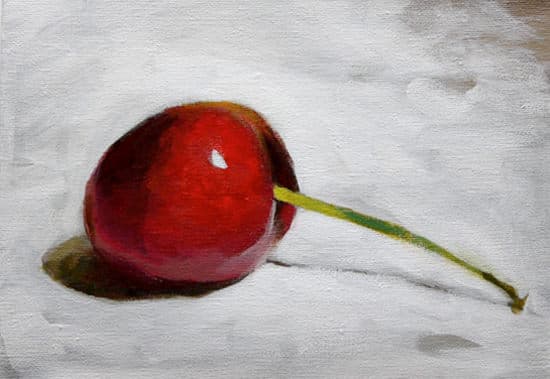
Finished Painting, 7 x 9.5 inches, Acrylic on Canvas
Acrylic still life painting- Free video Course |Part 3 & 4
These videos below shows the third and final videos in the acrylic still life painting. Make sure to subscribe to my YouTube Art school Channel to keep updated on future videos, you don’t need an account, and you’ll get weekly email updates when a new video is posted.
You might also like:
1. Absolute Beginners Acrylic Course
2. Beginners Acrylic Still Life Cherry – Part 1
3. Beginners Acrylic Still Life Cherry – Part 2


