“Painting is drawing with the added complication of colour and tone”
Harold Speed – The Practice & Science of Drawing
In this light and shadow series, we look at the theory, drawing and painting of a simple form focusing on shadow, light and edges.
Part 1 we looked at the theory of light and shadow.
Part 2 we put pencil to paper and looked at practical drawing techniques with a simple pencil drawing of an apple.
This week, we’re returning to the studio to create the illusion of form with acrylic paint. I wanted to develop our sketch into a finished painting, using the same principles of light logic but having a more contemporary feel through the choice of colours, composition and context.
For Part 3, I’ve created a free video tutorial so you can watch every step and follow along at home…
Acrylic light & shade painting- Free video Course |Part 1
The video below shows the first steps I take to start the step-by-step acrylic light & shade painting.
Reference Image
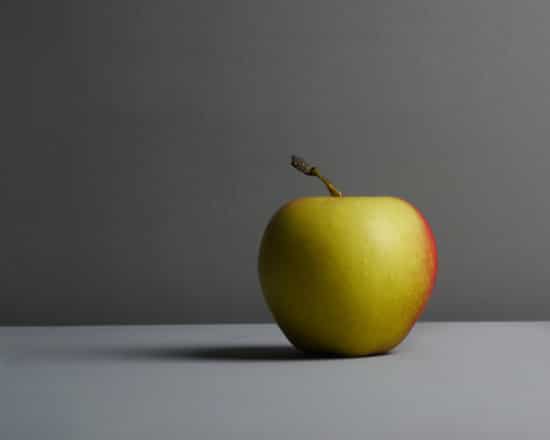
The image above is the reference image I use for this demonstration.
It can be ‘right clicked’ and ‘Save image as’, so you can use it as a reference for your painting.
Drawing the shapes
Drawing still life can be simplified into four main forms: the sphere, cylinder, cone & cube.
For this painting, we’ll be concentrating on a sphere.
If you think of the basic circle shape to start with, you can quickly set up the basic construct shape of the drawing.
I’m working on a coloured ground and am using a 3B pencil to draw out.
Materials
- 3B pencil
- Cranked Handle Palette knife (I use size 45 diamond shape by RGM)
- Tear-off palette (A3 Daler Rowney)
- 8 x 10-inch pre-primed white canvas (I have applied a yellow-coloured ground)
- Kitchen Roll (paper towel)
- Jam Jar & Water
Brushes
- Small round brush
- Rosemary & Co Ivory filbert brush Size 6 – Short Handle
Acrylic Paints
For the coloured ground:
- Yellow Ochre
- Cadmium Yellow Light
For the main painting:
- Raw Umber
- Ultramarine Blue
- Cadmium Yellow Light
- Titanium White
- Burnt Sienna
- Cadmium Red (for Part 2)
(Brands used: For this particular painting, I used a whole mix of brands including Golden Heavy Body Paints, Winsor & Newton Artist Acrylics, Liquitex and Daler Rowney Artist Quality Acrylics.)
7 simple steps to begin:
Step#1. Apply a coloured ground.
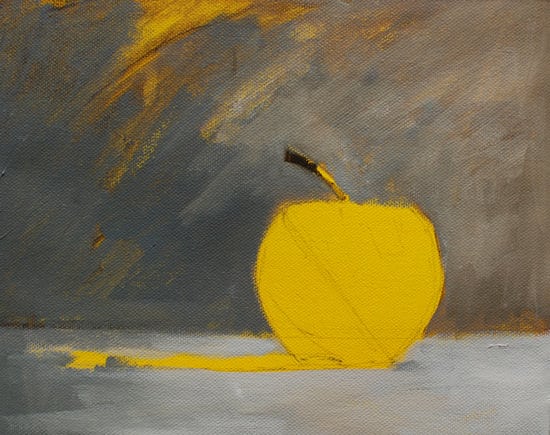
For this painting, I wanted to have a bright glow underneath the form of the apple, so I applied a mix of Yellow Ochre & Cadmium yellow light to a white pre-primed box canvas.
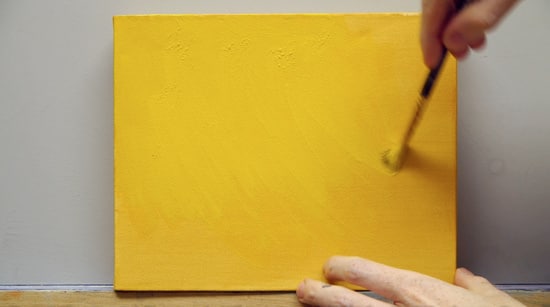
To see how I apply an acrylic ground See: How to apply a coloured ground.
Step# 2. Draw out the image.
I draw around a circular object (about 7-8cm in diameter) to establish the apple’s basic circular shape and the ellipse shape of the cast shadow. This is a shallow ellipse.
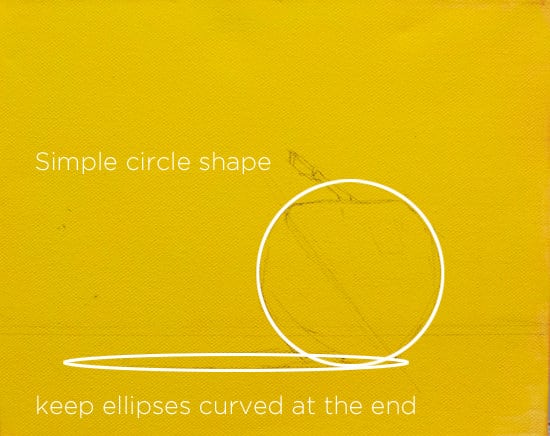
I can then draw in the form shadow line; this gives me a guide to working to when blocking in the form shadow.
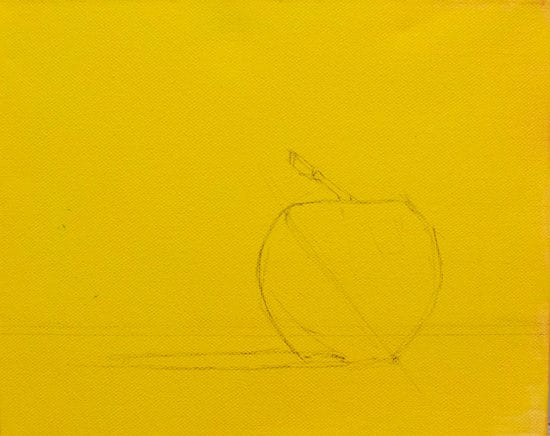
Next, I square off the top of the apple and sketch in any angles of the outer edge shape.
Step #3. Tone down the background.
Now I’m ready to start painting!
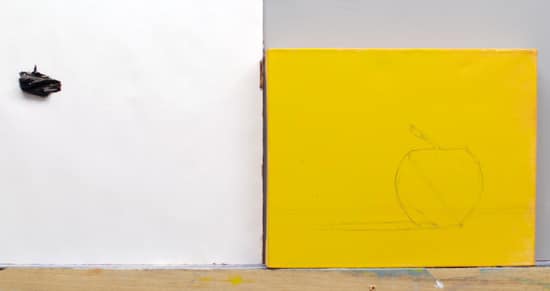
The first thing I do is tone down the background using a heavy body Raw Umber acrylic paint.
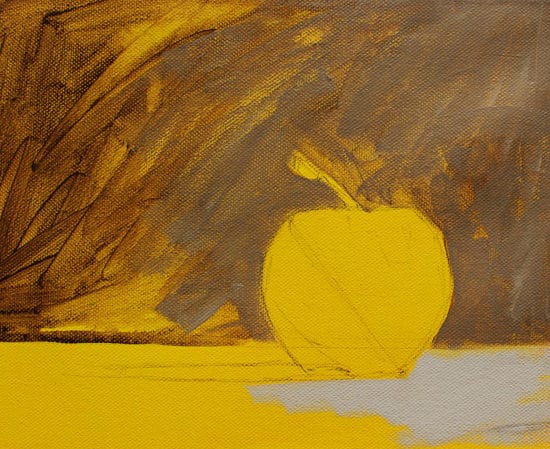
By varying the consistency on the paint with water, I can scrub in the background tone to give me a sense of the dark and light values within the scene.
I then add some Titanium White and Ultramarine Blue to paint a thicker application in the foreground.
I now work between the foreground and the background painting in thicker areas of paint to give a varied background, leaving some of the coloured ground peeking through.
Step #4. The Darkest darks.
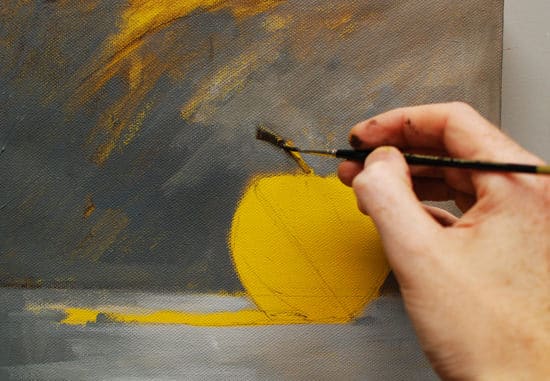
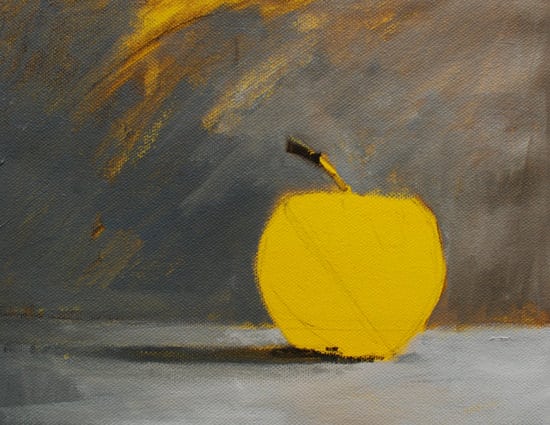
Swapping to a smaller round brush, I can add some of the darkest tones into the stalk of the apple using the pure Raw Umber paint.
I then paint in the cast shadow.
Take note of how the line is darkest and sharpest under the apple and then becomes softer and lighter as it gets further away from the light source.
Step #5. Form shadow.
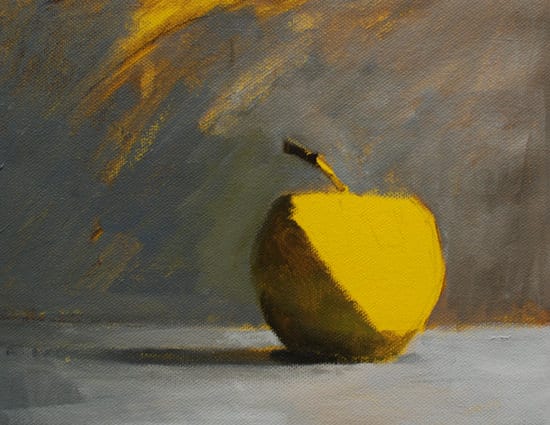
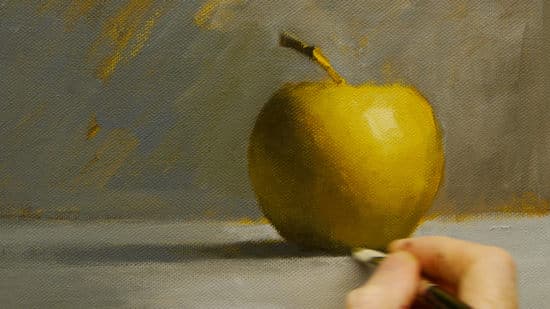
Painting in the form shadow using a mix of Raw Umber & Cadmium Yellow Light.
I use these two colours on the form shadow, lightening the tone slightly to indicate the reflected light.
Step #6. Softening the shadow line.
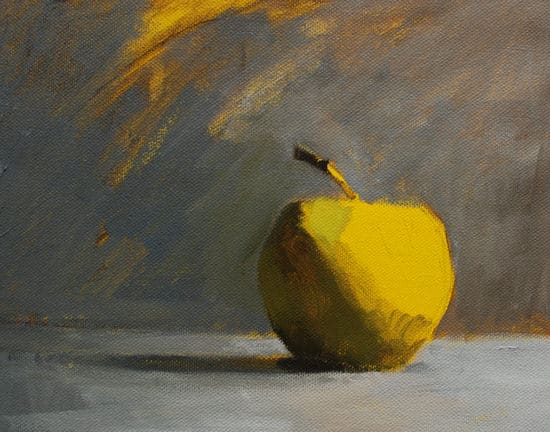
I then introduce a Burnt Sienna to add a slightly warmer tone to the transition line of the form of the apple.
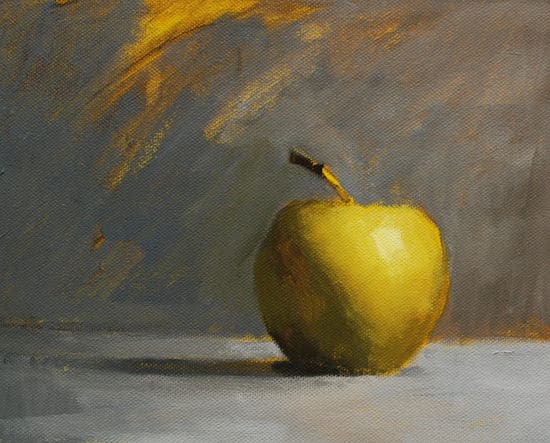
Step #7. Halftone & highlight.
Then with the Cadmium Yellow Light and Titanium white, I paint the halftone and highlight.
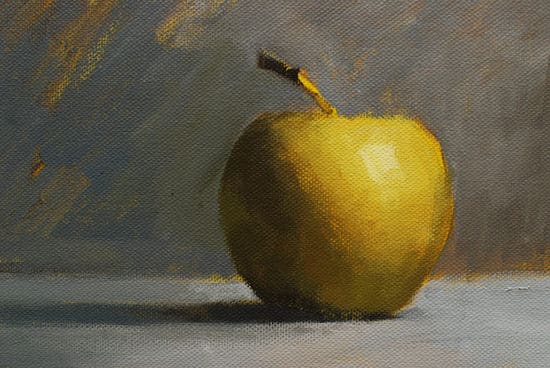
I can then re-enforce the form shadow core and have a nice balance between the darks and the lights.
Below is the image in black and white – so you can see the changing of tones more clearly.
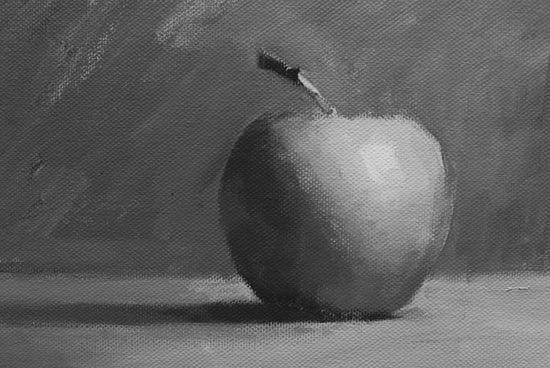
This gives a basic fall of light and three-dimensional form within the painting.
Bear in mind the three most common mistakes when painting three-dimensional forms:
1. Painting the cast shadow lighter than it appears.
2. Making the form shadow line too hard
3. Keeping the hardness/sharpness of all the edges the same.
Part 2
Acrylic light & shade painting- Free video Course |Part 2
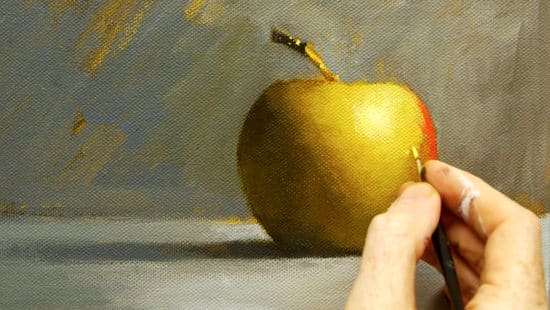
This video below shows the finishing touches where I introduce Cadmium Red light and Burnt Sienna glazes.
The final 5 steps:
Step #1. Intensify the highlight.
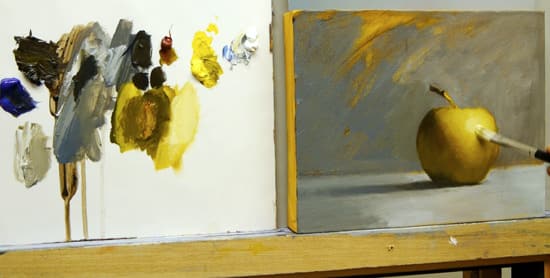
Step #2. Adding & blending a glaze.
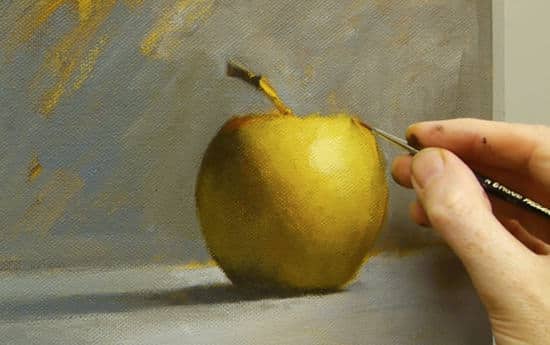
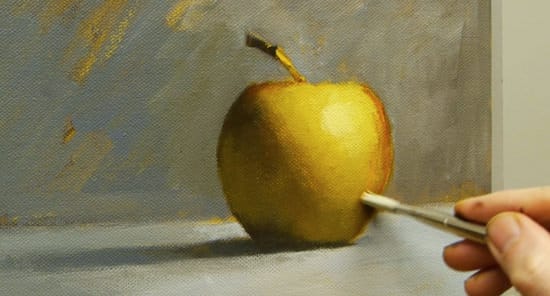
Step #3. Adding the red.
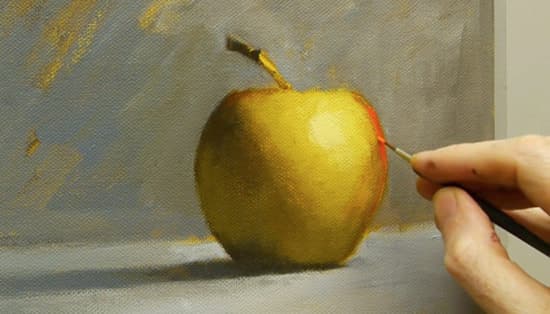
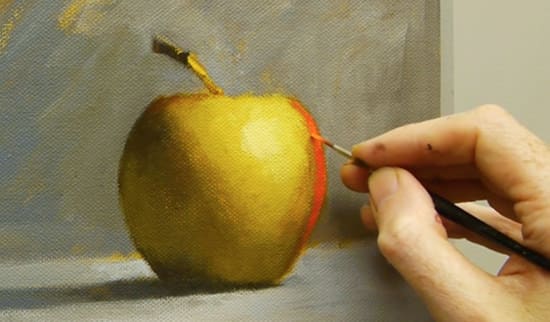
Step #4. Modelling the form.
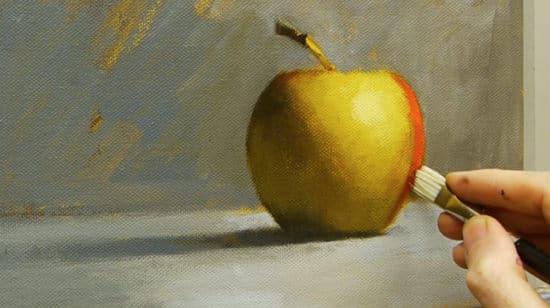
Step #5. The final details
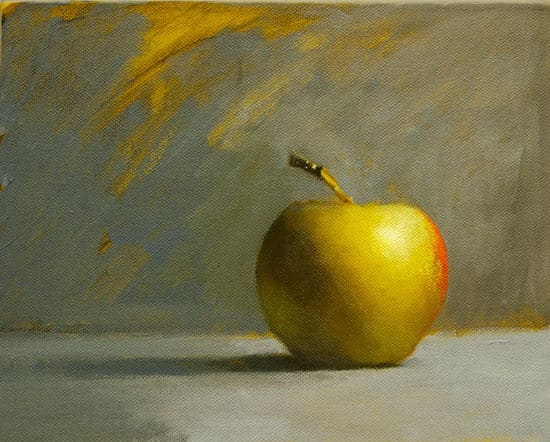
Will Kemp, Apple Study, Acrylic on Canvas
For a simple modern still life, this course gets amazing results.
You might also like:
1. A Beginners Guide to Light & Shadow : Part 1
2. How to shade a drawing Light & Shadow : Part 2
3. The 3 reasons why you can’t draw (and what to do about it)


