
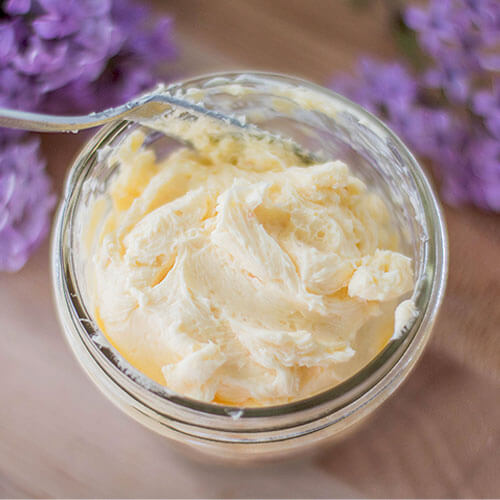
Wonderfully tangy and probiotic, here’s how to make cultured butter and real buttermilk for your favorite recipes… from compound butter to buttermilk biscuits!
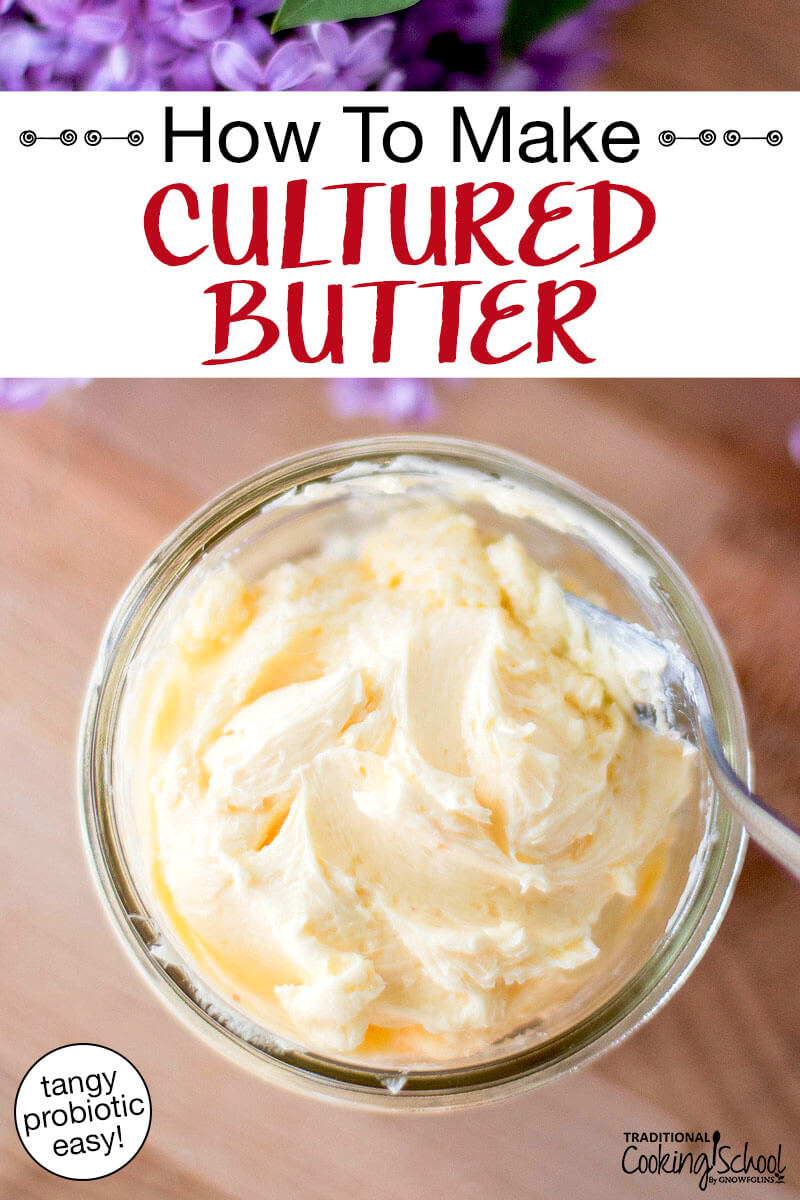
Table Of Contents
What Is Cultured Butter?
Cultured butter starts with cultured cream… cream that is first allowed to ripen or culture before becoming butter. The result: more beneficial organisms (probiotics), enzymes and vitamins.
You can use cultured butter in any dish where you’d use sweet (uncultured) butter. Enjoy the subtle tangy flavor!
Ingredients
- Heavy cream – This can be raw or pasteurized, but not ultra-pasteurized. Choose the best quality you can, preferably raw cream from a grass-fed animal. Yet if this is not possible for you, remember that if you’re culturing dairy at home, you’re making whatever milk you are able to get better!
- Culture of choice – If using raw cream, you don’t have to add a mother culture (though you may choose to do so!) because the beneficial organisms in the cream will proliferate over time themselves, producing a cultured cream or sour cream. You definitely need to add a starter culture if using pasteurized cream because it contains no beneficial organisms to proliferate and/or protect against spoiling. Choose a mesophilic cheese culture such as this one, or plain yogurt, dairy kefir, buttermilk or sour cream with active cultures, or dairy kefir grains.
- Sea salt – Optional, yet delicious! Choose a high-quality, fine-grain, mineral-rich salt. Don’t use store-bought, commercial iodized salt.
Tools & Equipment
- Glass jars – You will need a pint-sized glass jar for culturing the cream, then two half-pint jars for storing the butter and buttermilk afterward.
- Paper towel or cloth napkin, plus rubber band – For covering the cream while it cultures.
- An appliance for churning – You can use your food processor, blender, mixer, or even a glass jar that you shake, shake, shake!
How To Make Cultured Butter
Follow the instructions below to make cultured butter at home, or skip the Culturing step to make sweet cream butter!
Stage 1: Culturing
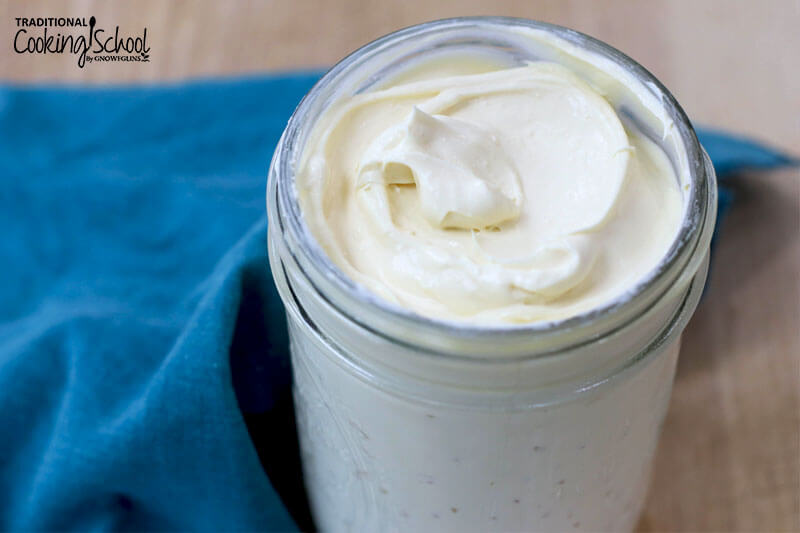
- Culture the cream, either by letting raw cream culture spontaneously at room temperature, or by adding a starter culture of your choice to a quart of raw or pasteurized cream.
- Stir the culture in well.
- Cover the jar with a cloth napkin or paper towel, and secure with a rubber band.
- Let the cream culture, or ripen, at room temperature for about 24 to 48 hours.
- To know it is done, go by taste or smell. I think when it tastes like good sour cream it makes wonderful butter! Don’t worry if it is thick or not, as that doesn’t matter. Mainly the culturing stage is to develop flavor and to allow the beneficial organisms to proliferate.
- When it is ready, cover it with a regular lid and move it to the refrigerator and chill it thoroughly.
Stage 2: Churning
- Bring the soured cream out of the refrigerator and allow to warm up for about an hour at room temperature.
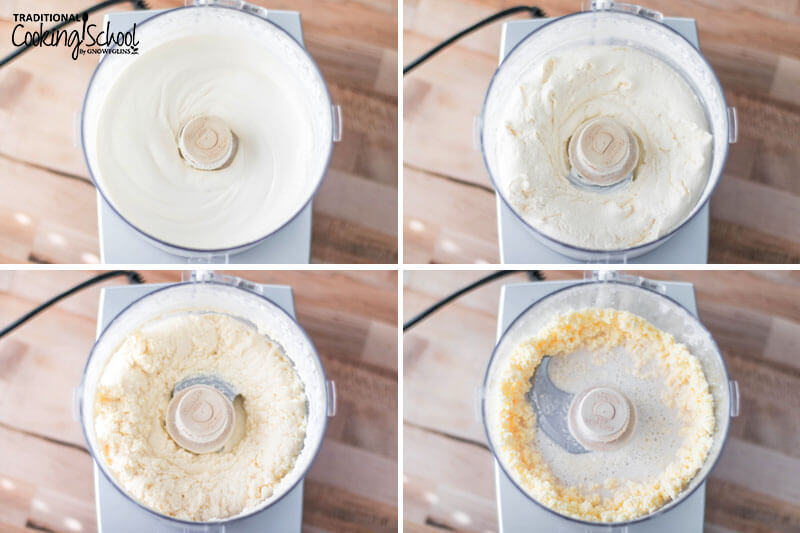
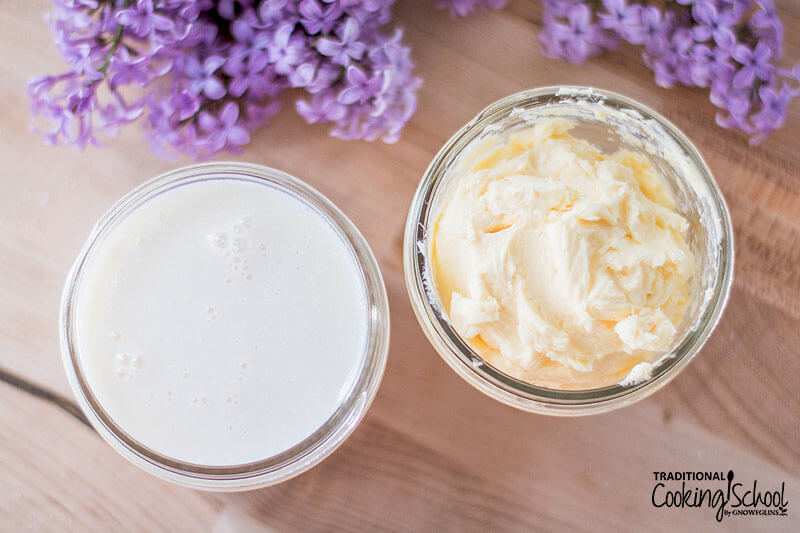
- Put it into the container of your food processor, blender or mixer. While it is on (for a few minutes to several), the cream will pass through stages: from whipped cream to chunky cream and past that to where the butter “breaks.” Breaking means the butterfat clumps together separately from the buttermilk (the liquid that is the byproduct of butter-making). If the cream is not very cold, the whipped cream stage may get skipped.
- Once the butter breaks, blend for about 30 seconds longer to make sure all the butter has broken out of the buttermilk.
- If using a glass jar for churning, just shake and shake and shake until you get butter!
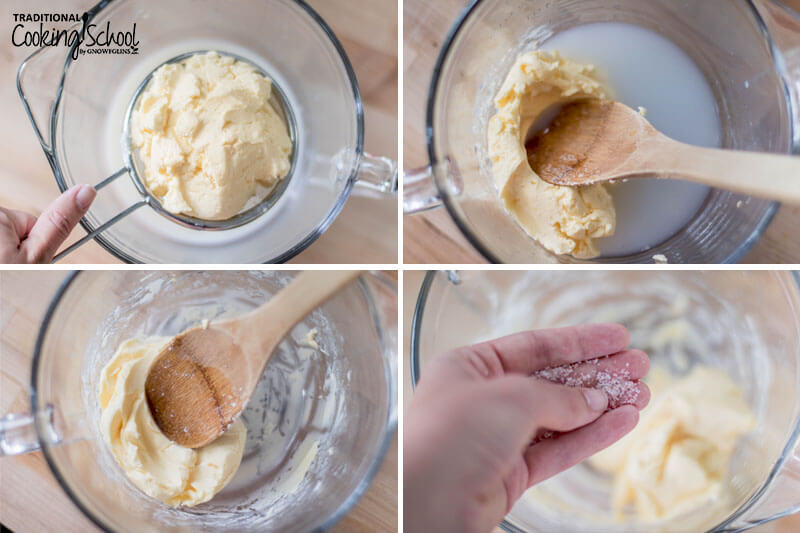
- Pour off the liquid buttermilk through a fine mesh sieve or strainer into a catch bowl. Save this for soaking grains, salad dressings, smoothies or drinking plain (though I like to add salt). Put the butter solids in a clean mixing bowl. There may be some liquid that comes with them — just pour it off into the bowl of buttermilk.
Stage 3: Washing & Pressing
- Add cold water to the bowl of butter solids.
- Over and over, fold and press the churned butter into the sides of the bowl with a wooden spoon. The water will get cloudy from the release of the remaining buttermilk mixed in with the butter solids. Getting these out helps the butter keep better and longer — the buttermilk is what will spoil first.
- Pour off the cloudy water.
- Add more clean water, and press and fold again. You need to keep adding clean water until the water stays clear through a cycle of pressing and folding.
- Then add a final few minutes of just pressing the butter against the sides of the bowl (without additional water) to release any final drips of fluid — to keep the butter fresher longer.
Stage 4: Salting & Molding
- Mix in salt to taste. Using high-quality sea salt will introduce trace minerals into your butter — always a good thing!
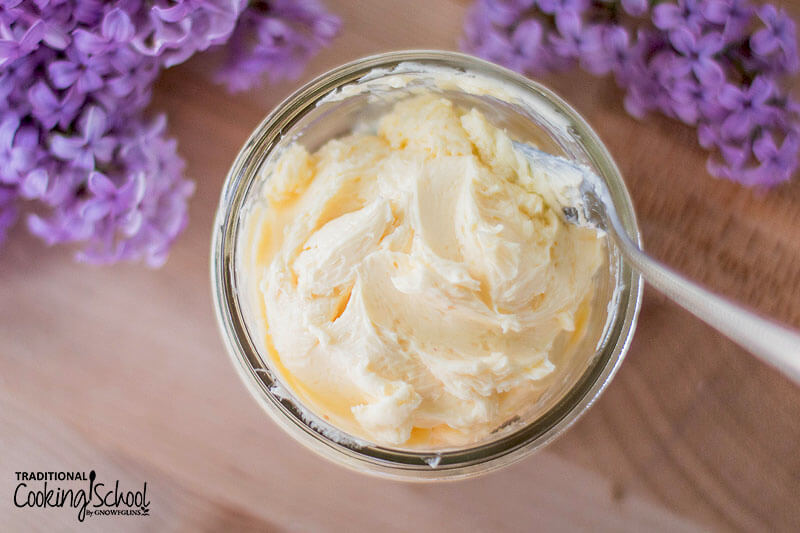
- You can shape the butter into patties or logs on wax paper, put it in a small glass jar, or use a butter mold.
- Butter keeps in the refrigerator for a few weeks. The better washed and pressed it is, the better it keeps. If you want it to last longer, freeze it.
Cultured Butter FAQs
Is it better to use a starter culture rather than using a food (sour cream, buttermilk, yogurt, etc.) with active cultures to inoculate a ferment?
The advantage to using starter cultures is, if they are new and not degraded from being stored too hot, you can ensure a better result. Having said that, either can be used in this instance and if one option is much more economical for you, you can go with that!
My sour cream is taking a long time to thicken. How long is it safe to keep out?
Ideally, it would be set up for you in 3 days or less. Toss it if it’s been more than 3 days.
My butter tastes or smells funny. Why?
It would have do with the original cream and its quality and/or age. Try making cultured butter with fresh cream next time, and/or find a different source of cream.
How long does buttermilk keep?
About 2 weeks, in the fridge.
How long will cultured butter last?
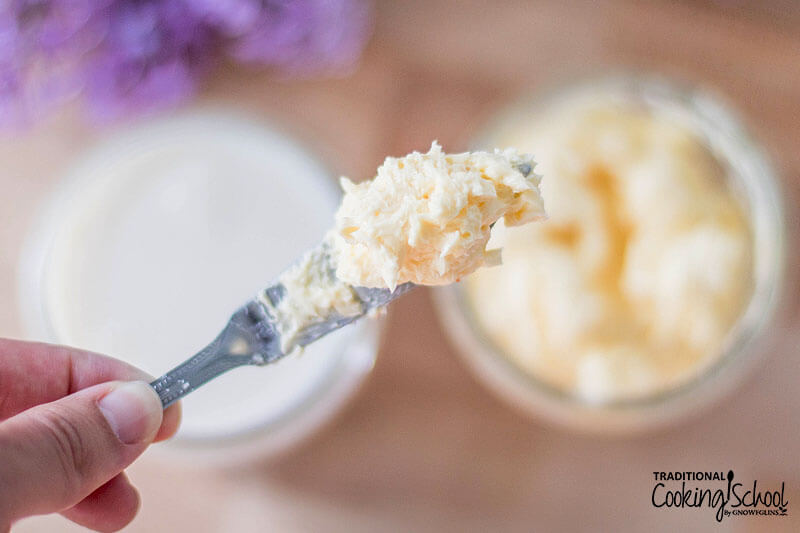
A few weeks in the fridge, or longer in the freezer.
How can I use cultured butter?
Use cultured butter anywhere you’d use regular, sweet cream butter… on toast or English muffins, on your morning oatmeal, in baked goods, you name it!
Can I freeze cultured butter?
Definitely! If you have a surplus of raw cream, churning it into butter and freezing it is a fantastic way to store it long-term. I like to wrap logs of cultured butter in parchment or wax paper, then place individual logs in a zip-top bag for freezing.
Other Cultured Dairy Recipes
- Compound Butter {Butter Gets Dressed Up!}
- How To Make Homemade Buttermilk + 5 Buttermilk Substitutes
- Easy Sour Cream (with free video!)
- What To Do With Soured Cream?
- Homemade Cottage Cheese From Raw Goat Milk
- Trim Healthy Mama Fuel Pull Cottage Cheese {homemade}
- Cultured Cream Cheese (+5 flavor options!)
- How to Make Raw Milk Mascarpone: Soft, Probiotic Cheese
- Middle Eastern Kefir Cheese Balls {with free video!}What To Do With Soured Cream?
- Homemade Raw Cheddar Cheese
- How To Skim Cream… The Best Way! #AskWardee 114
- Our Family’s Weekly Cultured Dairy Routine #AskWardee 146
- Fermenting Trouble Shooting FAQ’s
Did you make this homemade cultured butter recipe? If so, please give us a rating on the recipe card below. Then snap a photo and tag us on social media so we can see how you enjoyed it!
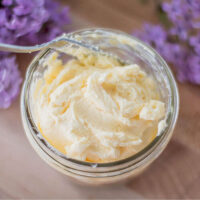
How To Make Cultured Butter
Follow the instructions below to make cultured butter, or skip the Culturing step to make sweet cream butter! This recipe yields a scant 1 cup of cultured butter, and 1 cup of buttermilk.
Ingredients
-
1
pint
heavy cream
raw or pasteurized -
1/8
teaspoon
mesophilic cheese culture
or 1/8 to 1/4 cup store-bought plain yogurt, buttermilk, or sour cream with active cultures; or dairy kefir grains -
fine sea salt
1/4 to 1/2 teaspoon of sea salt per pound of butter
Instructions
Stage 1: Culturing
-
Either let the raw cream culture spontaneously at room temperature, or add a starter culture of your choice to a quart of raw or pasteurized cream.
-
Stir the culture in well.
-
Cover the jar with a cloth napkin or paper towel, and secure with a rubber band.
-
Let the cream culture, or ripen, at room temperature for about 24 to 48 hours.
-
To know it is done, go by taste or smell. I think when it tastes like good sour cream it makes wonderful butter! Don’t worry if it is thick or not, as that doesn’t matter. Mainly the culturing stage is to develop flavor and to allow the beneficial organisms to proliferate.
-
When it is ready, cover it with a regular lid and move it to the refrigerator and chill it thoroughly.
Stage 2: Churning
-
Bring the soured cream out of the refrigerator and allow to warm up for about an hour at room temperature.
-
Put it into the container of your food processor, blender or mixer.
-
While it is on (for a few minutes to several), the cream will pass through stages: from whipped cream to chunky cream and past that to where the butter “breaks.” Breaking means the butterfat clumps together separately from the buttermilk (the liquid that is the byproduct of butter-making). If the cream is not very cold, the whipped cream stage may get skipped.
-
Once the butter breaks, blend for about 30 seconds longer to make sure all the butter has broken out of the buttermilk.
-
If using a glass jar for churning, just shake and shake and shake until you get butter!
-
Pour off the liquid buttermilk through a strainer into a catch bowl. Save this for soaking grains, salad dressings, smoothies or drinking plain (though I like to add salt).
-
Put the butter solids in a clean mixing bowl. There may be some liquid that comes with them — just pour it off into the bowl of buttermilk.
Stage 3: Washing & Pressing
-
Add cold, clean water to the bowl of butter solids. Over and over, fold and press the butter into the sides of the bowl with a wooden spoon. The water will get cloudy from the release of the remaining buttermilk mixed in with the butter solids. Getting these out helps the butter keep better and longer — the buttermilk is what will spoil first.
-
Pour off the cloudy water.
-
Add more clean water, and press and fold again. You need to keep adding clean water until the water stays clear through a cycle of pressing and folding.
-
Then add a final few minutes of just pressing the butter against the sides of the bowl (without additional water) to release any final drips of fluid — to keep the butter fresher longer.
Stage 4: Salting & Molding
-
Mix in salt to taste. Using a high-quality sea salt will introduce trace minerals into your butter — always a good thing!
-
You can shape the butter into patties or logs on wax paper, put in a small glass jar, or use a butter mold.
-
Butter keeps in the refrigerator for a few weeks. Or the freezer for longer storage. The better washed and pressed it is, the better it keeps. If you want it to last longer, freeze it.
Recipe Notes
*If using raw cream, you don’t have to add a mother culture — though you may choose to do so! — because the beneficial organisms in the cream will proliferate over time themselves, producing a cultured cream or sour cream. You definitely need to add a starter culture if using pasteurized cream because it contains no beneficial organisms to proliferate and/or protect against spoiling.
Calories from Fat 162
This post was originally published and written by Wardee Harmon in 2010. It was updated and republished on 5/19/21.


