
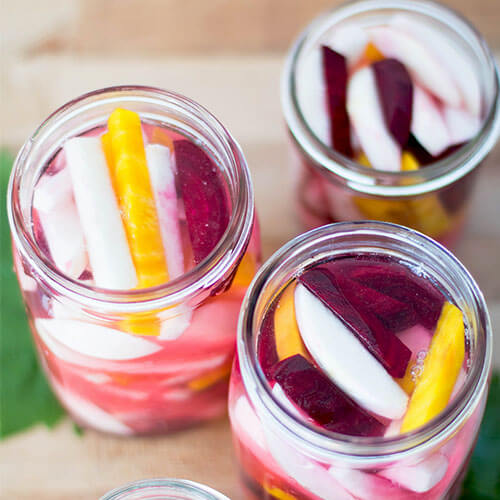
Gut-friendly and extra crunchy, these lacto-fermented turnips and beets are naturally pickled, totally raw, and made in only three days of fermenting time. We love the burst of fresh flavor they bring to salads and sandwiches!
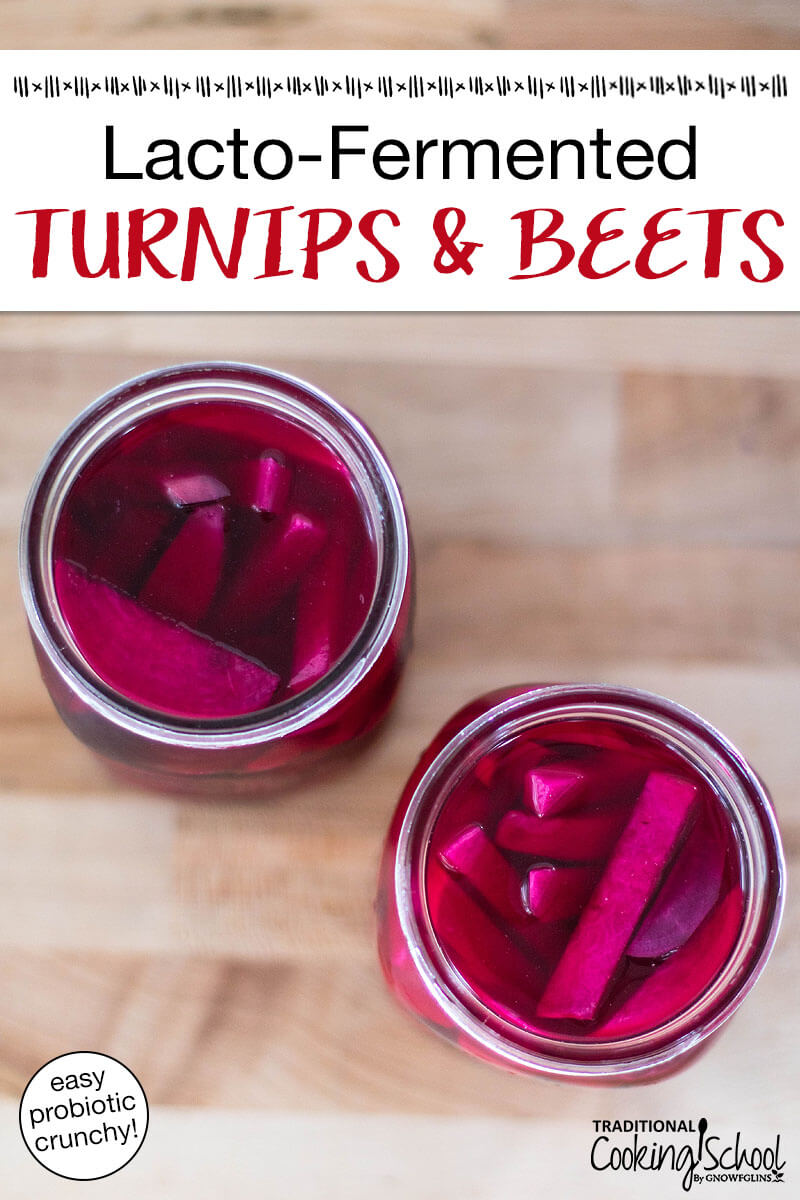
Table Of Contents
Why Lacto-Ferment Foods?
Traditionally, food was preserved through fermentation, without freezers or canning machines. Through the fermentation process, the salt and/or whey inhibits the growth of putrefying bacteria until enough lactic acid is produced to preserve the vegetables for many months.
And, the lactobacilli (beneficial bacteria) which produce lactic acid do much more! They enhance the digestibility of the vegetables, increase vitamin levels, produce enzymes, offer antibiotic and anti-carcinogenic substances, and support the growth of healthy flora in our intestines.
All this just from natural pickling! Compare that to many store-bought pickles, which offer nothing but pasteurized vegetables floating in an acidic brine of white vinegar.
Check out Nourishing Traditions, page 89, for more information about all of this.
Fermented Turnip & Beet Ingredients
- Turnips – Organic and/or local, if possible.
- Beets – Organic and/or local, if possible.
- Sea salt – Choose a high-quality, fine-grain, mineral-rich salt. Don’t use store-bought, commercial iodized salt. Salt is not optional since it protects the fermenting foods from putrefying bacteria while allowing the beneficial bacteria necessary for proper fermentation to thrive. It’s essential, in the amount written below, for safe fermentation.
- Pure water – Use mineral-rich, chlorine-free water rather than contaminated well water or straight city water which may contain chlorine, chloramine, and/or flouride, etc. Mixing chlorinated water with cultures can affect your lacto-fermentation recipes. If your water is not clean or you don’t filter it, I recommend purchasing spring water or filtered water (here’s how to choose the best water filter for your family!). If your water is filtered and does not re-add minerals back, consider fortifying it with natural mineral drops. I discuss using reverse osmosis water for fermenting in this #AskWardee.
- Whey – Although optional, the use of whey in ferments kickstarts fermentation and helps ensure consistent results. Learn how to make whey here. If you’re dairy-free, you can use leftover fermenting juice from pickles or sauerkraut instead at the same rate as whey.
- Grape leaves – Also optional, yet recommended as the tannins in grape leaves make for extra crunchy turnip and beet pickles! You can use a pinch of black tea leaves, or a few oak leaves instead.
Tools & Equipment
You don’t need fancy equipment to ferment!
- Glass jars – You will need quart-sized glass jars, preferably wide mouth although regular mouth jars will work in a pinch.
- Metal bands and lids – For covering the jars of turnips and beets as they ferment.
How To Make Fermented Turnips & Beets
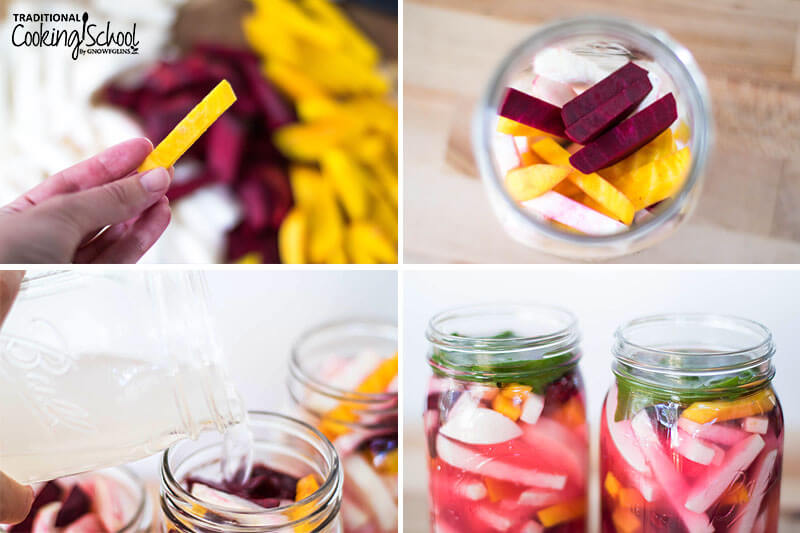
- Make your brine by dissolving salt in water. Simply combine salt and water in a half-gallon jar and stir until the salt dissolves.
- Peel, quarter, and slice the turnips and beets.
- Mix them up to incorporate.
- Fill as many quart jars as necessary to use up all prepared vegetables.
- Press down on the veggies to make sure they’re packed in well and don’t fill up higher than within 1 inch of the top.
- Pour whey, if using, and brine over top.
- Add a grape leaf, if using, to each jar and tuck in around the edges of the vegetables to help keep them submerged in the brine.
- Put the lids and bands on the jars and tighten securely.
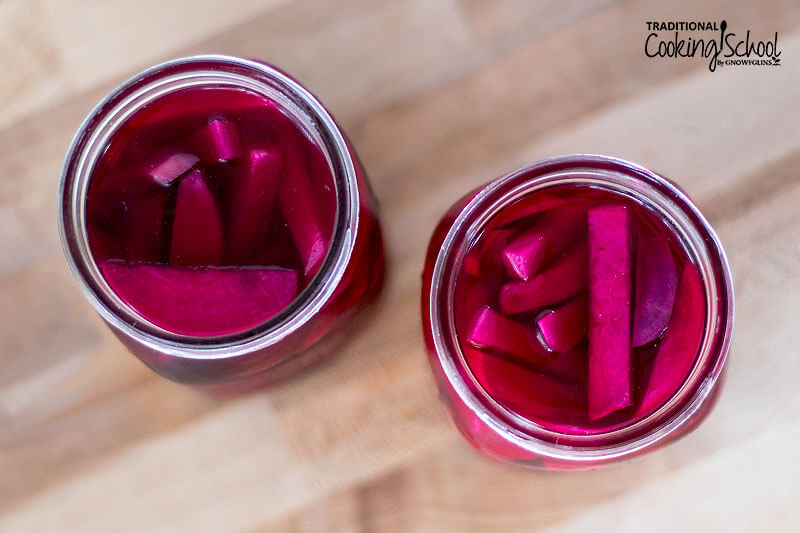
- Leave on the counter at room temperature for about 3 days. Look for bubbles as a sign that fermentation is happening (if you don’t see bubbles, read my tips below). The color will also deepen.
- Transfer the jars to cold storage until you are ready to eat them.
Recipe Tips & Troubleshooting
I’m dairy-free. Is there another other starter culture I can use instead of whey?
Yes! You can use leftover fermenting juice from pickles or sauerkraut instead at the same rate as whey.
Help! I don’t see any bubbles in my fermented turnips and beets.
Look for other signs of fermentation, such as texture changes, color changes and the whole mixture starting to develop sourness from the lactic acid that’s produced. If you’re seeing these signs, all is well. If you’re not, is your ferment kept in a warm enough place to allow the beneficial bacteria to thrive?
I think I see mold in/on my pickled turnips and beets. Is it safe to eat if I skim it away, or should I toss the whole thing?
It depends. Please reference this post for preventing mold during fermentation, and what to do if it happens.
How can I tell if my turnip and beet pickles are spoiled or not?
Trust your nose! Though be aware that if it repels you but is not spoiled, it might be because you’re unaccustomed to fermented foods and need time to adjust to a new normal. If you aren’t sure, you can take a little taste and see how it goes. It’s always okay to be on the safe side and compost the ferment or feed the chickens with it.
Check out this #AskWardee for the signs that your ferment is on the right track. And here are hard and fast signs that a ferment has gone wrong:
- It’s moldy. Pink or fuzzy is not good.
- It’s mushy.
- Its smell repels you because it’s putrid or rotten, not just sour. Your nose KNOWS this!
- When you taste it, it gives you an upset stomach. (Don’t confuse this with a healing reaction, though.)
Any time you get into a jar, repack it carefully to keep all food submerged and under the protection of the brine.
How can I tell if my fermented turnips and beets are done?
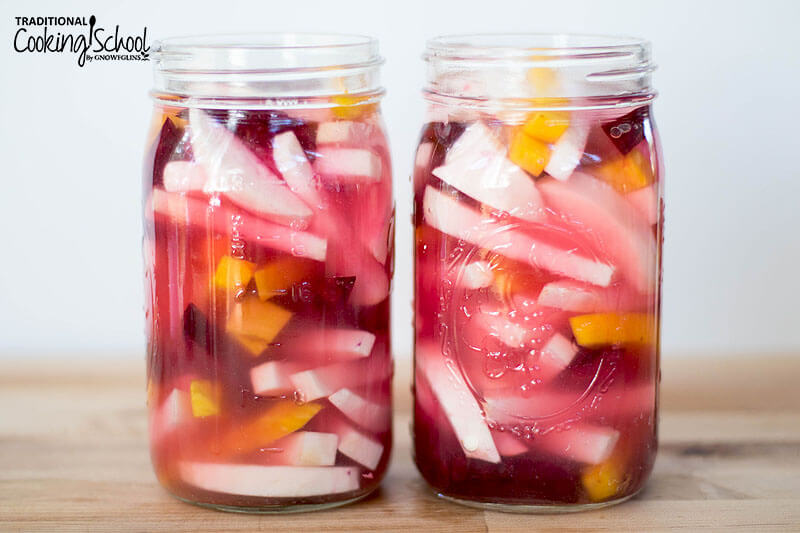
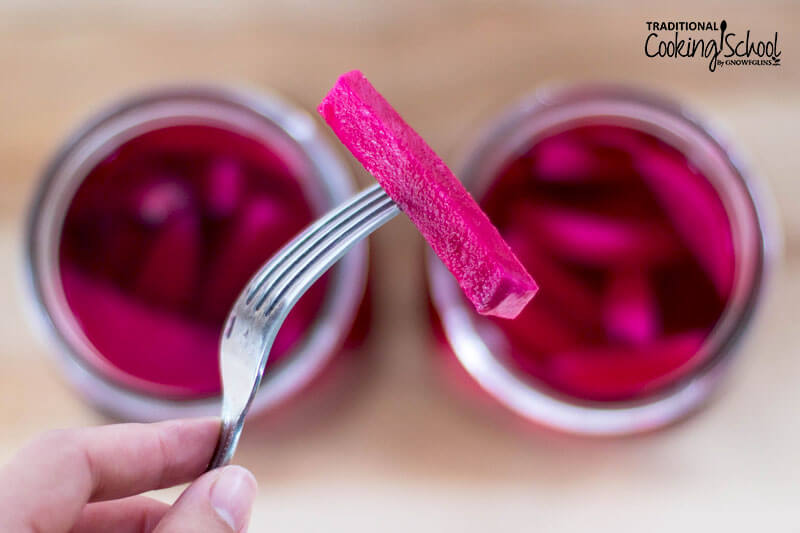
As you can see in the photo above, the color will deepen into a beautiful burgundy. Beyond that, go ahead and open a jar up to smell and taste it!
No two ferments are going to be exactly alike — this is a flexible process and you really have to open the jar and dig in to see what’s going on in there. I discuss the typical signs of a finished ferment in this article.
Ways to use fermented turnips and beets.
I usually serve our pickled vegetables topped on a green salad, or as a side with a cold cut type of meal (meat salad, bread, and cheese). These veggies taste bubbly, spicy, and fresh, while offering a great crisp and crunch. I love them!
Other Fermented Condiments
- 3 Lacto-Fermented Mustard Recipes (zippy, zingy flavor!)
- Lacto-Fermented Homemade Ketchup
- Lacto-Fermented Mayonnaise
- Homemade Sauerkraut In A Stoneware Crock
- Homemade Kimchi: An Easy Korean Sauerkraut Recipe
- Old-Fashioned, Crunchy, Fermented Garlic-Dill Pickles
Have you tried these lacto-fermented turnips and beets? Please give us a rating on the recipe card below. Then snap a photo of your homemade turnip and beet pickles and tag us on social media!
Lacto-Fermented Turnips & Beets
Gut-friendly and extra crunchy, these lacto-fermented turnips and beets are naturally pickled, totally raw, and made in only three days of fermenting time. We love the burst of fresh flavor they bring to salads and sandwiches!
Ingredients
-
1/2
gallon
pure water -
6
tablespoons
sea salt -
turnips
peeled, quartered and sliced -
beets
peeled, quartered and sliced -
1/4
cup
whey
optional; per quart -
1
grape leaf
optional; per quart
Instructions
-
Make your brine by dissolving salt in water. Simply combine salt and water in a half-gallon jar and stir, stir, stir until the salt dissolves.
-
Peel, quarter and slice the turnips and beets.
-
Mix them up to incorporate.
-
Fill as many quart jars as necessary to use up all prepared vegetables.
-
Press down on the veggies to make sure they’re packed in well and don’t fill up higher than within 1 inch of the top.
-
Pour whey, if using, and brine over top.
-
Add a grape leaf, if using, to each jar and tuck in around the edges of the vegetables to help keep them submerged.
-
Put the lids and bands on the jars and tighten securely.
-
Leave on the counter at room temperature for about 3 days. You will know they are fermenting because the mixture in the jar will be very bubbly.
-
Transfer the jars to cold storage until you are ready to eat them.
Recipe Notes
This recipe is easily scaled up or down. I have called for enough water and salt to make 1/2 gallon of brine, which is enough brine to cover at least 3 quarts of vegetables.
Don’t have enough brine to cover all of your turnips and beets? Make more brine in the same ratio of water to salt.
Have too much brine? Store in a sealed jar at room temperature for a few days and use as needed in other fermenting recipes. If not used within a few days, transfer to a non-glass container, such as an empty milk jug, because otherwise the jar might crack.
Calories from Fat 9
This post was originally published and written by Wardee Harmon on 6/3/09. It was updated and republished on 6/9/21.


